
Private label neoprene accessories need their own product specifications—not just the logo and thickness copied from a wetsuit. For hoods, gloves, boots and socks, confirm the intended use, material system, measurements, seams, contact surfaces, equipment compatibility and packaging unit. Then approve each accessory and its relationship with the equipment it will be used alongside.
A coordinated accessory collection can extend a watersports brand’s offer, but a matching color does not establish matching fit or function. This eight-point buyer checklist explains what to put in the development brief, how to compare samples and how to avoid quantity and revision mistakes when placing a combined order.
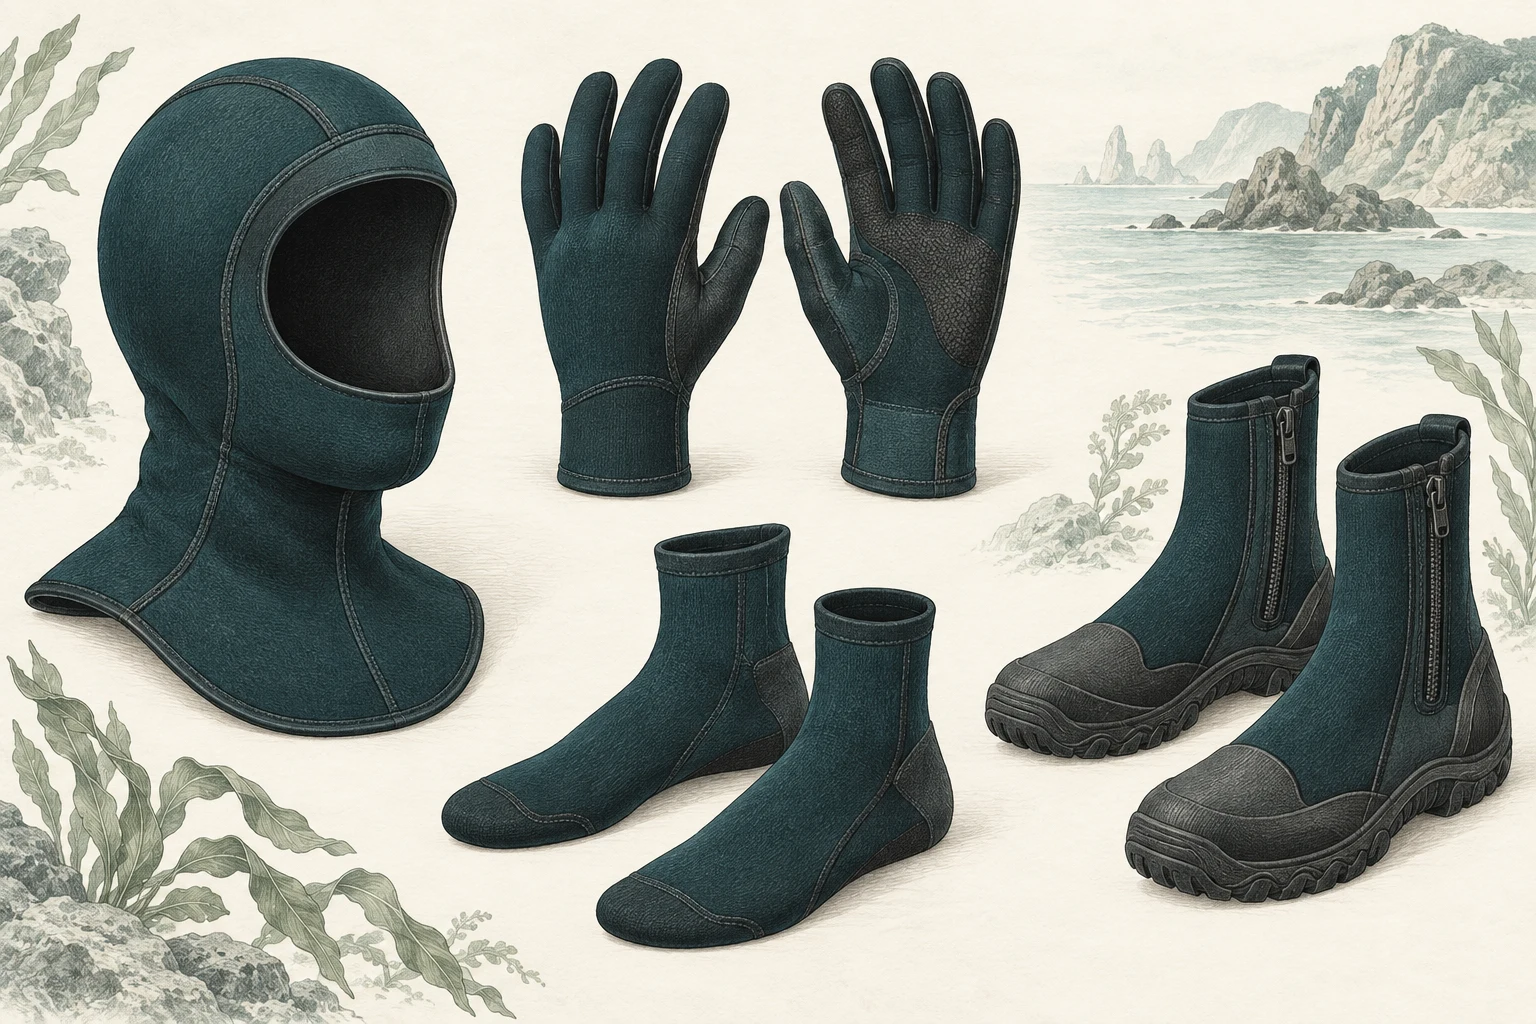
1. Confirm the available categories and the intended use
Start with the supplier’s current product list and reference samples. Ask which models already have an established pattern, which require new development and which components are sourced separately. A request for hoods, gloves and footwear should not assume that every construction, outsole, zipper or thickness is available under the same commercial terms.
For an INSEAKU project, submit the accessory categories you want to develop and request written confirmation of available options. Treat the products in this guide as specification categories, not a promise that every illustrated model is ready to order.
Define the activity and equipment context for each line: scuba diving, freediving, surfing or another stated use; the intended conditions; and the wetsuit, fin or other interface to be evaluated. A soft fin sock and a structured dive boot may sit beside each other in a catalog, but their construction briefs should remain separate.
| Category | Decisions to specify | Interface to review | Order unit |
|---|---|---|---|
| Hood | Face opening, neck/bib shape, panel thickness, seam map | Head, neck, mask and suit collar | One hood |
| Gloves | Finger shape, palm material, cuff and reinforcement | Hand movement, suit wrist and intended equipment | One left/right pair |
| Soft socks | Foot shape, ankle height, sole surface and lining | Foot and the specified fin pocket | One pair |
| Dive boots | Upper, outsole, opening/zipper and heel detail | Foot, intended ground contact and fin system | One left/right pair |
Use explicit units on the quotation, purchase order and packing list. “100 pieces of gloves” can be read differently from “100 pairs, each containing one left and one right glove.” Resolve that ambiguity before comparing prices.
2. Write a separate material and construction specification
Record the foam supplier or reference, outer and inner faces, nominal thickness by panel, tolerances and measurement method. Include the seam construction, tape coverage, edge finishing and reinforcement locations. The wetsuit material selection guide provides the background; the accessory technical pack must identify the actual combination being purchased.
A shared material name does not make two accessories equivalent. A glove palm, a hood face edge and a sock sole have different roles. Identify which surface contacts skin, which stretches during use and which is exposed to abrasion. Ask the supplier to propose options against those requirements rather than selecting an entire collection by thickness alone.
Keep claims separate from appearance. A textured palm is not evidence of a particular grip result. A reinforced sole is not automatically puncture-resistant footwear. Specify the evaluation needed for any advertised property, including the method, conditions and acceptance criteria. Do not add cut-resistance, waterproofness, universal temperature suitability or certification claims without applicable evidence.
Use the same document structure across the range, with separate product codes and revisions. The tech-pack and RFQ checklist can help organize drawings, material references, artwork and commercial questions without collapsing distinct products into one vague “accessory set.”
3. Develop hoods around the face, neck and suit interface
A hood specification needs more than a head-size label. Define the measurement landmarks for the crown, face opening, chin, neck and any bib. Show whether the neck section is intended to sit under or over the particular suit collar. Photograph that arrangement during sample review so the approved configuration is unambiguous.
SCUBAPRO’s official neoprene accessories manual discusses hood placement relative to the suit and warns against excessively tight seals. For procurement, that means reviewing comfort and the complete interface rather than treating a tighter opening as an automatic improvement.
Ask sample wearers to check visibility, head movement, mask interaction and the neck/bib arrangement using the intended equipment. If a vent is proposed, document its location and construction and have its operation evaluated. Do not add or modify a vent simply because it appears on a reference photo.
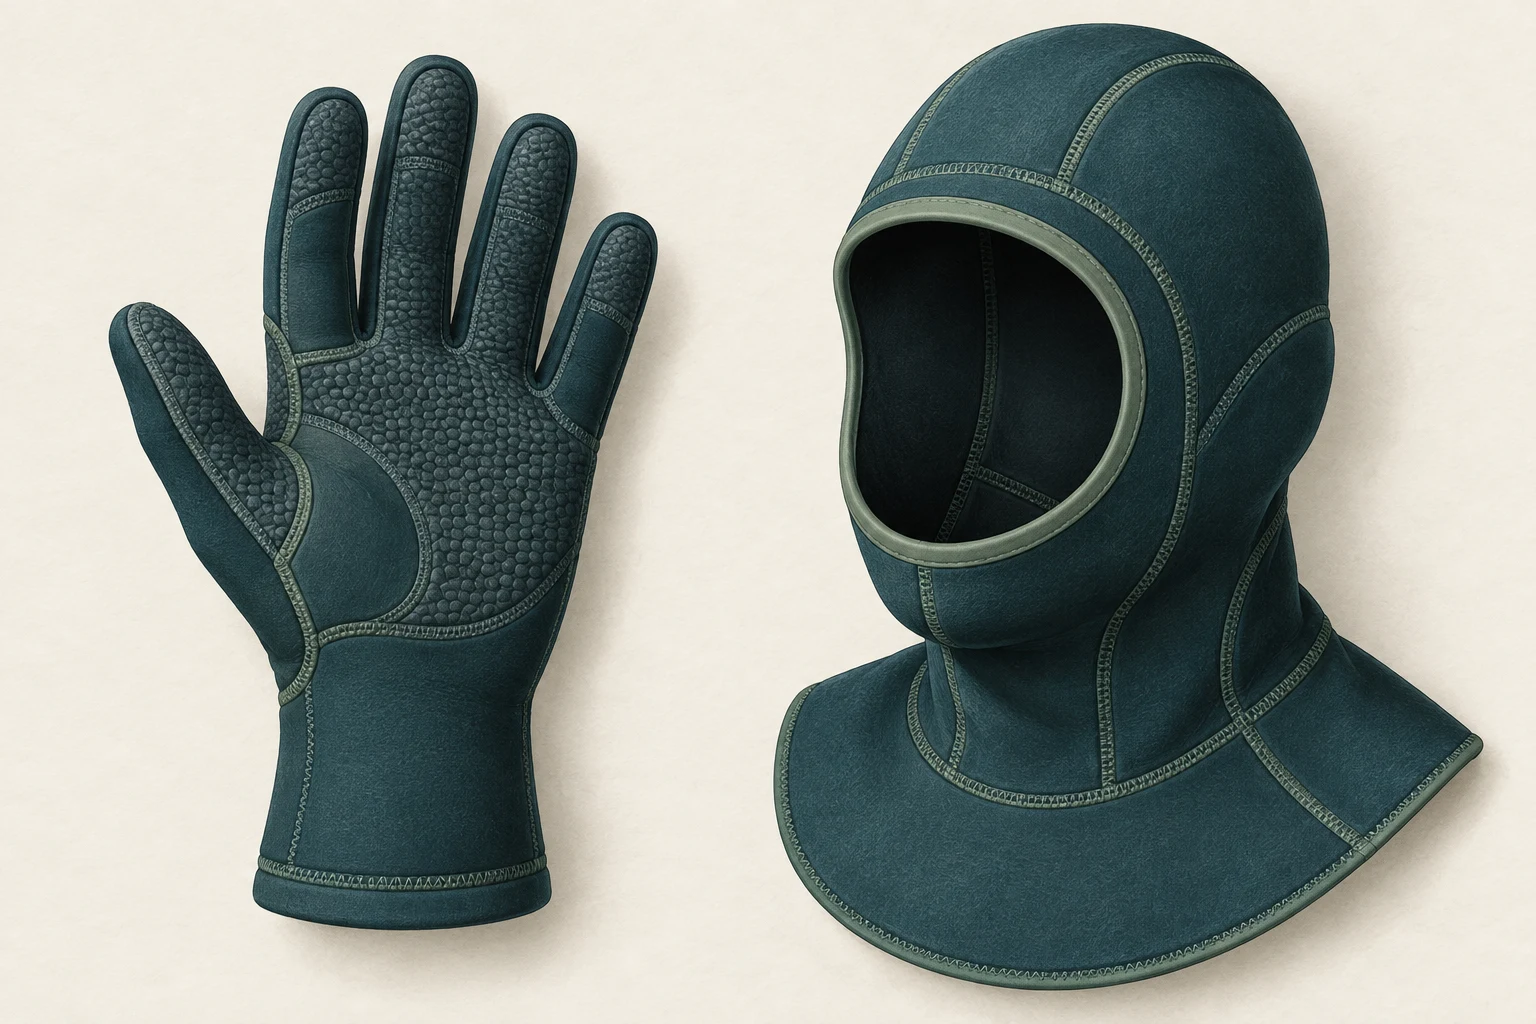
Retain the approved hood pattern, measurement sheet and fitting notes together. If the lining, stretch, thickness or edge construction changes, review whether the opening and fit need to be checked again. The same printed size label is not evidence that a revised hood fits identically.
4. Specify glove fit and dexterity, not just palm texture
For a five-finger glove, show finger lengths, thumb position, palm dimensions, cuff opening and the measurement method. Define left and right construction, logo orientation and how the pair is packed. If a different finger arrangement is proposed, give it a separate brief and approval record.
SCUBAPRO’s official size guide separates glove length, palm girth and glove opening, while using head circumference for hoods and a separate boot/sock chart. This illustrates why one S–XL chart should not be copied across every accessory. Develop and verify the measurements for your own models instead of reproducing another brand’s numeric table.
Evaluate the glove on representative hands. Record finger reach, thumb movement, cuff comfort and the tasks it is intended to support. Where equipment operation matters, include the specified equipment in an appropriately supervised evaluation. A glove that looks correct on a table may still interfere with the intended task.
Document the palm coating or reinforcement reference and coverage. Define how you will assess attachment, flexing and wear. Keep material-swab observations separate from finished-glove findings. If a supplier changes the coating, seam allowance or lining, record the change before approving a repeat order.
5. Distinguish soft socks from structured boots
Do not use “booties,” “socks” and “boots” interchangeably in the purchase order. Include a drawing or approved sample reference. For a soft sock, specify the foot shape, ankle height, seam locations and sole surface. For a structured boot, add the outsole reference, attachment method, opening and zipper details, toe/heel reinforcement and any fin-strap feature.
Cressi’s official Isla boot page describes a model with a molded sole, reinforced toe and heel, a zipper and a heel feature for an open-heel fin strap. Those details demonstrate the kinds of construction fields a boot brief can contain. They do not establish that a different boot will fit every fin or provide the same performance.
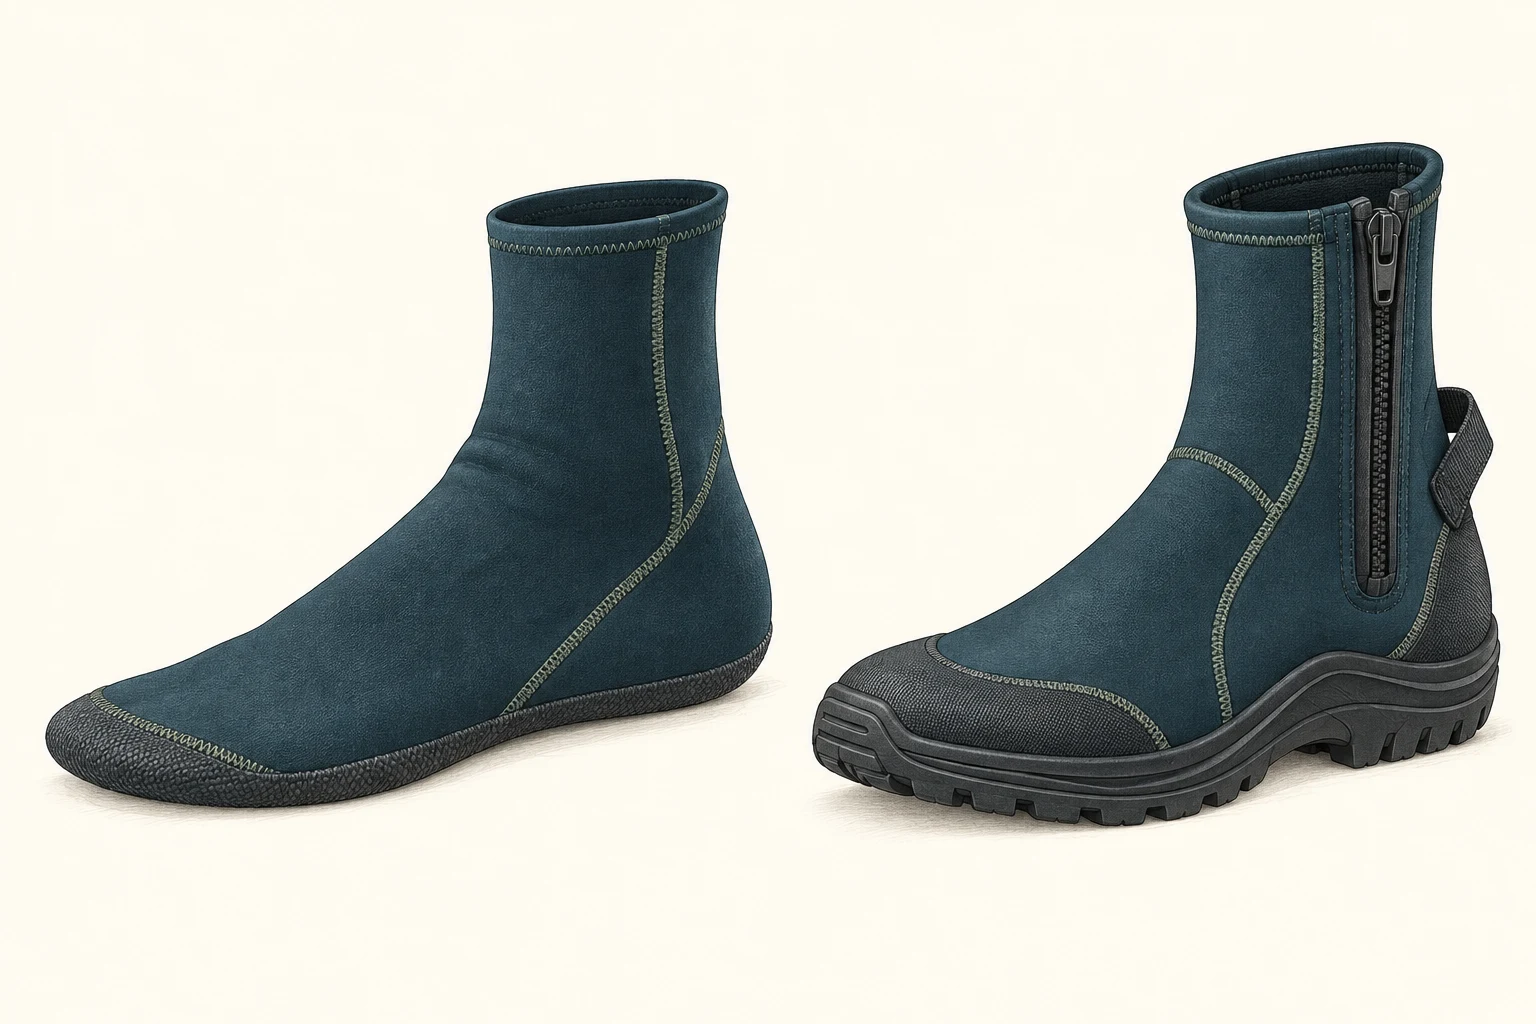
Test the actual footwear sample with the named fin model and size. Record the combination rather than writing “fits fins.” Adding a sock or changing material thickness can alter the space available inside footwear or a fin pocket. If two items are intended to be worn together, evaluate them together.
Separate body measurements from finished-product measurements. Define whether foot length refers to the wearer’s foot, an internal dimension or an external sole dimension. Record width, instep and ankle checks where relevant to the design. A generic shoe-size conversion cannot replace a documented fit review.
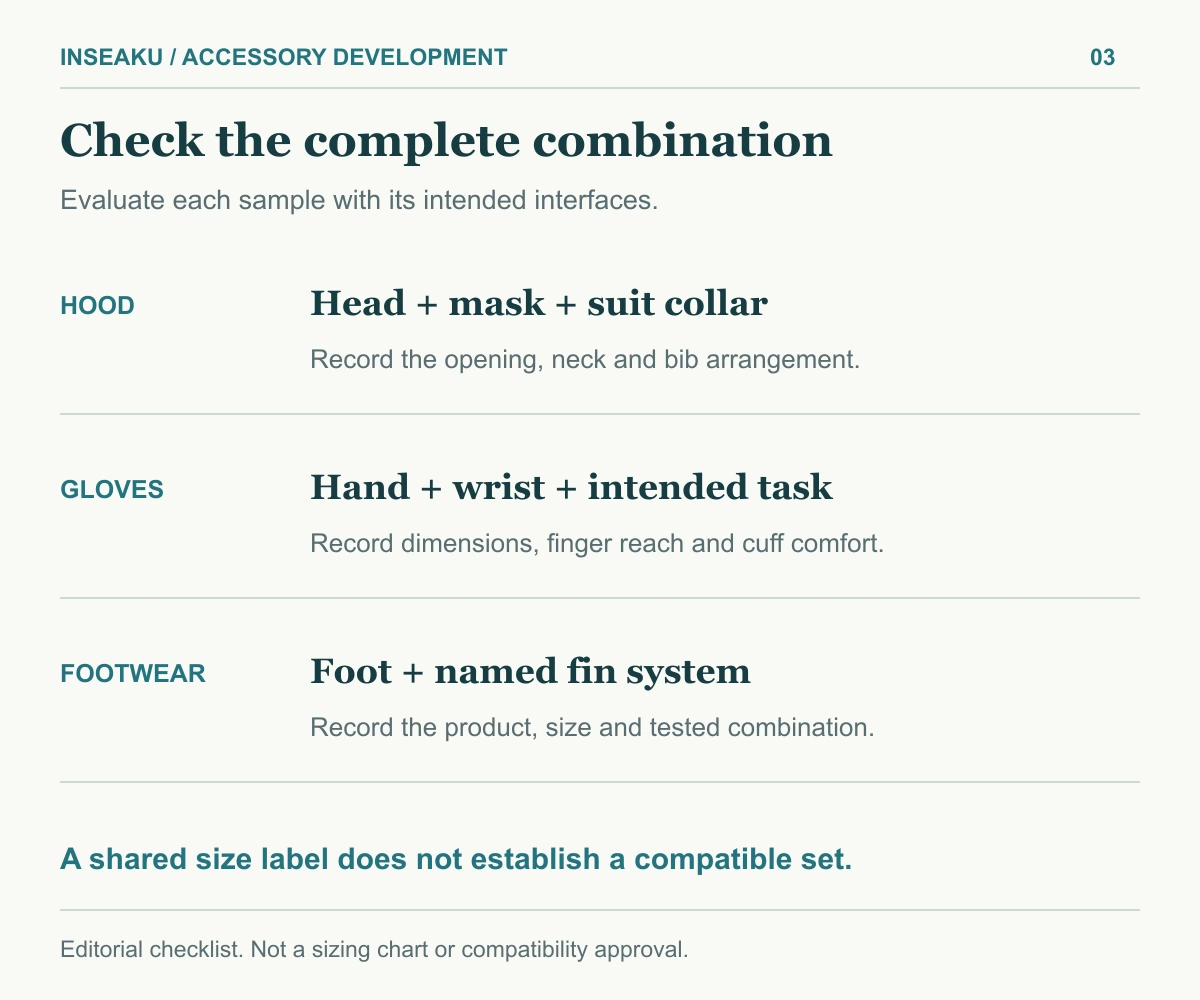
Use the recording discipline in the fit-testing protocol, but adapt the measurement points and tasks to the accessory. Do not approve the full size range from a single photograph of one sample size.
6. Coordinate branding without forcing identical placements
Create a shared brand sheet for artwork version, color references, typography, care-label approach and packaging hierarchy. Then create an application drawing for each product. The visible area on a hood, glove cuff and boot shaft is different, so matching brand identity does not require identical logo dimensions.
For each placement, record the method, size, position measured from stable landmarks and orientation when worn. Check the artwork on the actual substrate and in its stretched state where relevant. Use the wetsuit logo methods guide to frame the printing discussion, then approve an accessory-specific trial.
Proofread small text against the original artwork file, not only the previous sample. Confirm left/right placement and ensure a pair does not accidentally contain two identical sides. Agree how size, product code and revision or batch identification will remain connected to the item and its packaging.
Ask for care instructions appropriate to the final construction. SCUBAPRO’s accessory manual includes checks for material, seal and closure damage and storage guidance that avoids sunlight and excessive compression. Use this as manufacturer background, not as permission to copy its warranty, certification language or service commitments onto private-label products.
7. Plan private label neoprene accessories as separate order lines
A combined shipment does not automatically create a combined minimum order quantity. Ask the supplier to identify minimums by product, color, material and component where applicable. Clarify whether special outsoles, zippers, printed panels or packaging introduce separate minimums or development charges. Confirm the current terms instead of transferring a wetsuit MOQ to every accessory.
Also separate the manufacturing order from the retail bundle. A kit containing one hood, one pair of gloves and one pair of socks needs three correctly specified order lines. It may require three different size choices. A medium hood should not automatically be bundled with medium gloves and medium socks without a defined selection method.
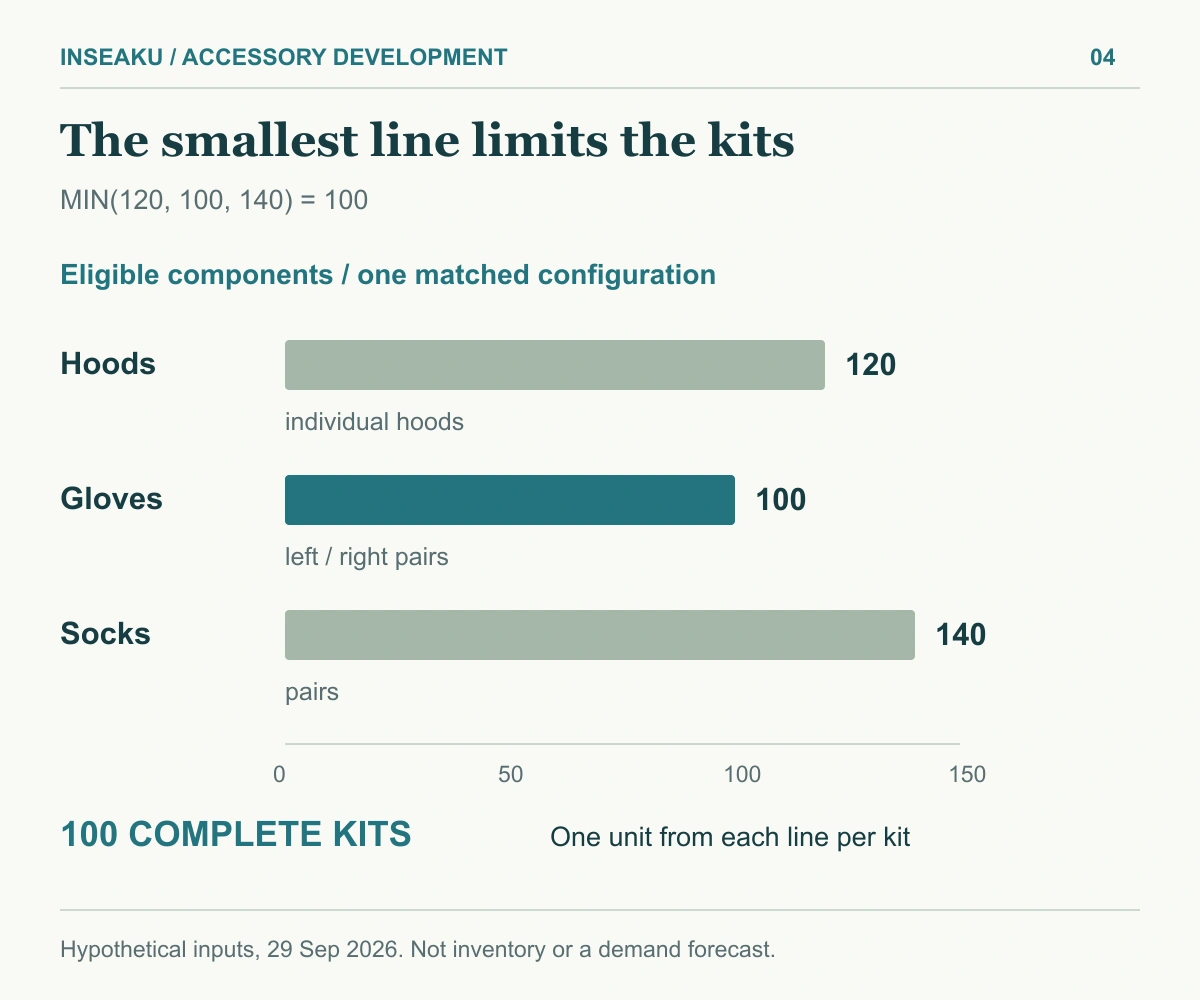
Here is a hypothetical quantity example. Assume one already-matched configuration, released components, no reservations for other orders, and one unit from each line per kit:
- 120 eligible hoods, measured in individual hoods.
- 100 eligible glove pairs, each containing one left and one right glove.
- 140 eligible sock pairs.
The maximum number of complete kits is MIN(120, 100, 140) = 100 kits. Assembling all 100 leaves 20 hoods, zero glove pairs and 40 sock pairs. This is simple component arithmetic, not INSEAKU inventory, a demand forecast or a suggested order size.
If stock includes different sizes or incompatible revisions, calculate each permitted configuration separately and avoid allocating the same component twice. Do not apply the minimum function to total stock across all sizes and call the result sellable kits.
Download the neoprene accessory specification and kit planner. The workbook includes a blank product brief plus a kit-capacity worksheet, with actual input fields separated from the hypothetical example. Complete the compatibility checks before entering eligible quantities.
8. Approve samples and preserve a usable reorder record
Approve each accessory on its own and then review the intended combination. Keep a written list of open issues, corrections and required retesting. A pass for the hood does not clear an unresolved glove or footwear issue. The sample approval process provides a framework for controlling revisions before bulk production.
Define the inspection plan around the product: material identification, dimensions, seam condition, edge finish, left/right pairing, branding and packaging count. Add agreed functional checks for the relevant sole, palm, closure or other component. The quality-control checklist can support the general plan, but accessory-specific acceptance limits must be documented.
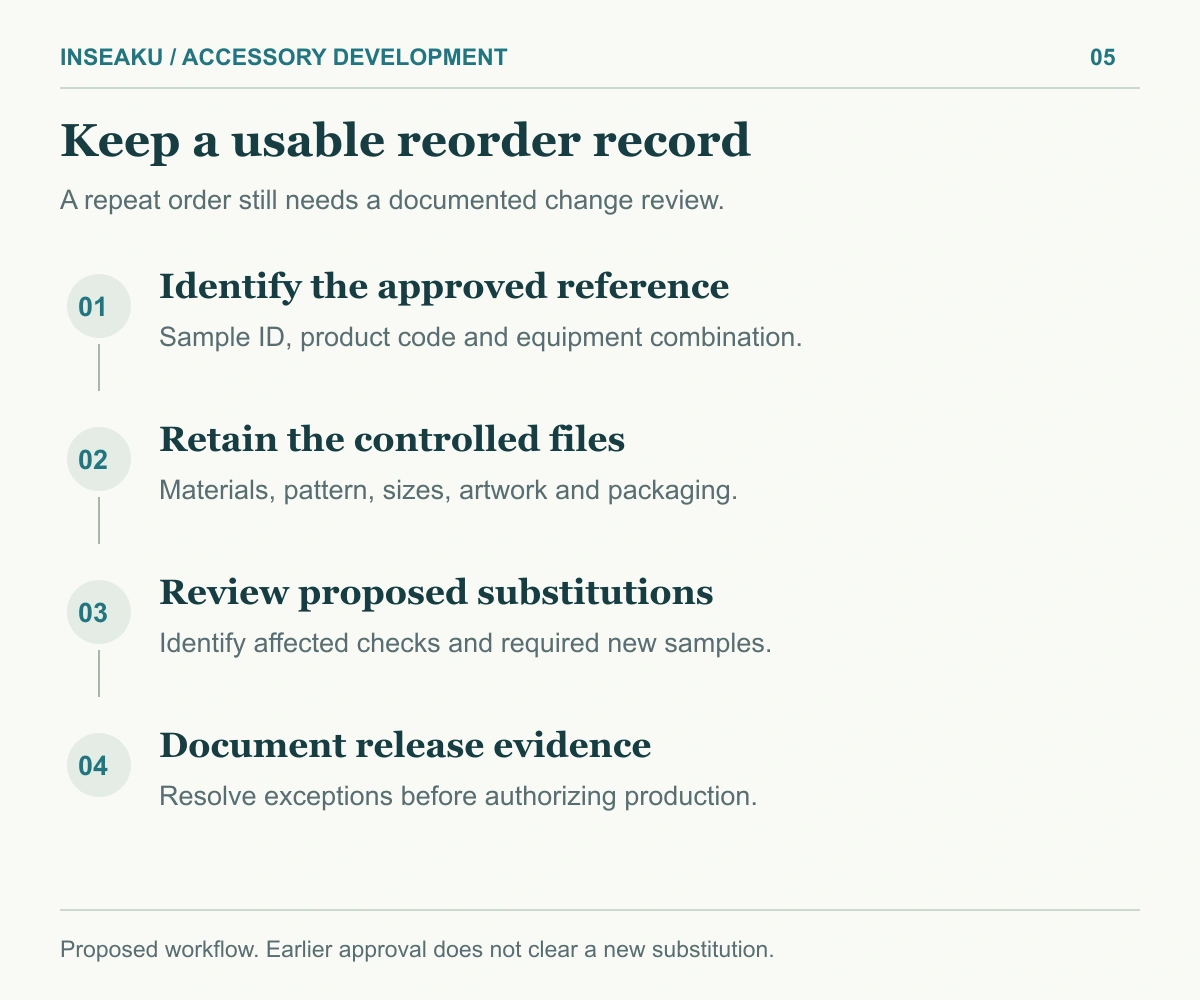
Before the first shipment, save a reorder file containing the approved sample ID, bill of materials, pattern and size revisions, artwork files, inspection criteria, packaging unit and approved equipment combinations. Retain the relevant color and material references. Agree who must authorize substitutions and which changes require a new sample.
A reorder should identify changes explicitly, including “no proposed changes” when confirmed by the supplier. Replacing a sole, lining, coating or zipper may affect more than appearance. Review the affected fit and functional evidence before using the earlier approval.
To discuss a coordinated collection, send INSEAKU the category list, intended use, drawings, size requirements and quantity units. Review INSEAKU’s private-label product development and manufacturing services, and request confirmation of available models, sourcing responsibilities, samples and commercial terms. You can submit your accessory development brief with the completed worksheet.
Frequently Asked Questions
What should a private label neoprene accessories brief include?
Include product categories, intended use, materials, thickness by panel, measurements, seams, equipment interfaces, artwork, sample checks, quantity units and packaging. Give every product its own code and revision.
Can hoods, gloves and socks use the same size chart?
No single chart should be assumed to cover them. Head, hand and foot dimensions require separate measurement definitions and sample fitting. Matching S, M or L labels do not establish a compatible bundle.
Can neoprene socks replace dive boots?
Not automatically. Their soles, closures, intended contact surfaces and fin interfaces can differ. Select the product for its stated use and evaluate the actual equipment combination rather than treating the names as interchangeable.
Can different accessories share one MOQ?
Only if the supplier explicitly agrees. Confirm minimums and charges for each product and any material, component, color or packaging constraint. Combining cartons or branding does not by itself combine production minimums.
What is the most important detail for an accessory reorder?
The order must reference a controlled approved specification and identify proposed changes. Keep sample, material, pattern, artwork, sizing and packaging records linked so substitutions can be reviewed before production.
References and Further Reading
These official manufacturer resources support the technical background cited above. They do not endorse INSEAKU or certify the illustrated concepts. The procurement checklist and kit calculation are editorial tools, not manufacturer test results. Sources accessed 29 September 2026.
- SCUBAPRO — Dive Wear Size Guides. Separate sizing fields for gloves, hoods and boots/socks. Numeric charts have not been copied into the INSEAKU template.
- SCUBAPRO — Neoprene Accessories User Manual (PDF). English fitting, inspection and storage sections provide manufacturer context. Brand-specific certification, warranty and service requirements are not transferred to private-label products.
- Cressi — Isla Boot: Official Product Details. A concrete example of outsole, zipper, heel and reinforcement features that need separate specification. Not a universal boot design or fin-compatibility approval.