
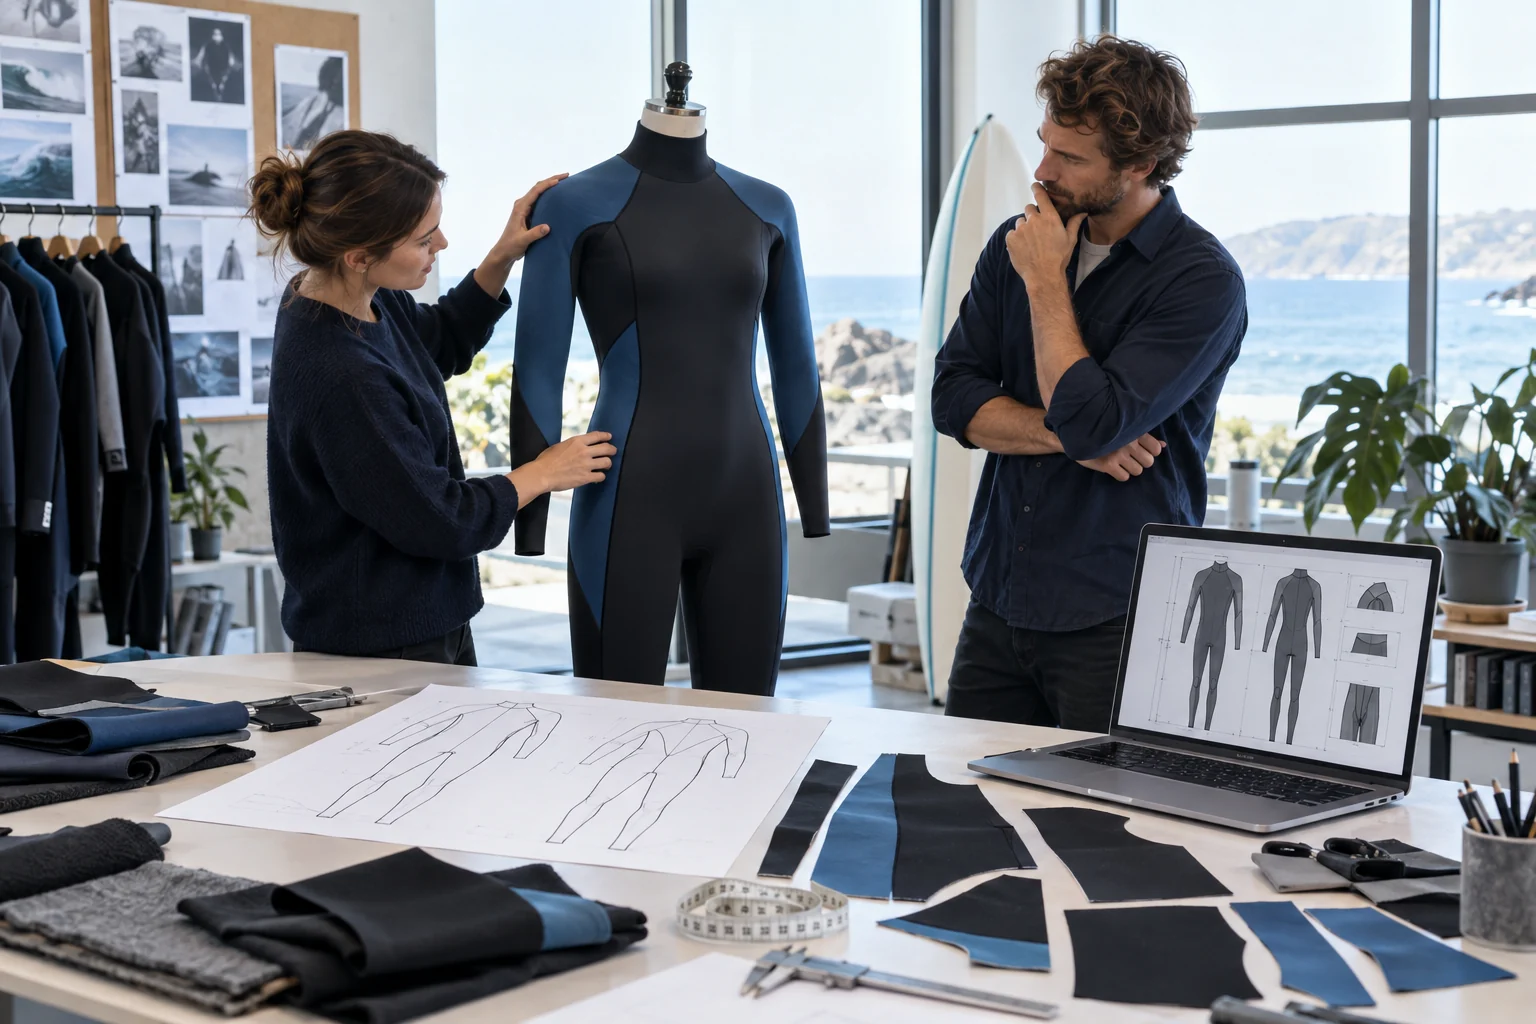
To learn how to design a custom wetsuit, begin with the wearer and activity, convert the required warmth, mobility, durability and entry experience into functional zones, then define every panel, material, seam, component, measurement, tolerance, color and artwork instruction in a controlled tech pack. A sketch communicates direction. It does not by itself tell a pattern maker how the suit should fit, stretch, seal, assemble or repeat across sizes.
This guide explains how to design a custom wetsuit from an early idea to a production-ready specification. It is written for watersports brands, product managers, designers, dive operators and sourcing teams. The process applies whether the first input is a pencil sketch, an existing sample, a digital rendering or a product brief. The amount of new pattern work depends on the chosen OEM, ODM or private-label route.
Download the working tool: use the Custom Wetsuit Design-to-Tech-Pack Workbook to record the product brief, design views, panel and material decisions, measurements, sample comments and final approval gates.
What a concept sketch can—and cannot—define
A concept sketch is useful when it shows the product type, silhouette, major style lines, color direction, visible components and design intent. Front and back views may be enough for an initial feasibility discussion. Side views, detail views and cross-sections become important when a closure, collar, hood, pocket, reinforcement or overlapping panel cannot be understood from the main views.
The sketch should not be treated as a production instruction unless it also resolves scale, construction and measurement. A curved line could represent a seam, a color boundary, a print edge or shading. A dark area could be a different material, a thicker zone or simply visual styling. The manufacturer should not have to choose among those meanings.
A complete development file therefore separates four layers:
- Product brief: who will use the suit, where, for what activity and with which priorities.
- Design views: shape, panel layout, components, branding and color.
- Technical specification: materials, construction, measurements, tolerances, artwork and packaging.
- Approval record: sample version, comments, decisions, test evidence and release authority.
Keeping these layers connected prevents a common failure: a visually attractive drawing moves forward while the fit, material behavior, entry system and manufacturing details remain undecided.
Step 1: define the wearer, activity and destination market
Begin with the product situation, not the panel artwork. Identify the primary activity, expected water and air conditions, session duration, skill level, movement pattern, entry and exit context, intended body profiles, frequency of use and care environment. A rental suit, open-water swimming suit, surf suit and spearfishing suit place different demands on fit, surface durability, lining, entry, visibility and maintenance.
Document the first sales markets and user age group. These decisions influence labeling, traceability, warnings, online product information, test planning and sometimes the product category. Do not assume that a design acceptable in one market can be copied into another market without review.
Write a concise use statement: “This product is designed for [user] performing [activity] in [conditions], with priority given to [ranked outcomes].” Add exclusions. If the product is not intended as life-saving equipment, protective equipment or a substitute for specialist safety gear, avoid artwork and claims that imply otherwise. The design brief should control the claims, and the claims should remain within the evidence.
Step 2: rank performance priorities and accept the trade-offs
A design cannot maximize every attribute at once. More seams can create visual interest and allow targeted material zones, but they also add assembly operations and potential failure points. A highly flexible area may improve movement but may need different durability expectations. A wide entry may simplify donning but change sealing and construction. Added reinforcement can protect a wear zone while reducing local stretch.
Rank the top three outcomes for the specific style. Common priorities include:
- thermal performance for defined conditions;
- shoulder, hip or knee mobility;
- controlled water entry at neck, wrist, ankle or closure;
- abrasion resistance in repeated-contact areas;
- ease of donning and doffing;
- comfort during a defined movement or session length;
- rental durability and simple care;
- target cost, order quantity and repeatability.
Turn each priority into a design question and an approval method. “Good mobility” is vague. “No material restriction during a defined overhead reach on representative wearers” is testable. “Premium” is not a construction. Identify the foam, lining, seam, hardware, finish, fit or service decision that is expected to create the result.
Step 3: choose the development route and reference products
Decide how much of the product is genuinely new. A private-label route may use an existing pattern with selected changes. OEM normally develops against the buyer’s specification. ODM can involve more supplier-led design and engineering. Projects often combine elements, so define ownership and responsibility for pattern, grading, artwork, tooling, test data and later revisions.
Reference samples can speed communication, but use them carefully. Record exactly what is being referenced: neckline feel, torso length, entry mechanism, seam placement, pocket access, surface finish or another feature. Do not ask a factory to copy another brand’s protected appearance, pattern or artwork. WIPO explains that industrial design rights can cover the ornamental aspects of a product, such as shape, patterns, lines or color, and protection is territorial. Get qualified intellectual-property advice before public disclosure or commercial use when the design may be protectable.
When briefing a supplier, distinguish “must match,” “direction only” and “must not copy.” If you need support moving from concept to specification, describe the scope requested from the supplier. INSEAKU’s wetsuit design, sampling and manufacturing services can be discussed against the exact product brief; responsibilities, deliverables, commercial terms and ownership still need written confirmation for the project.
Step 4: create technical views and a numbered panel map
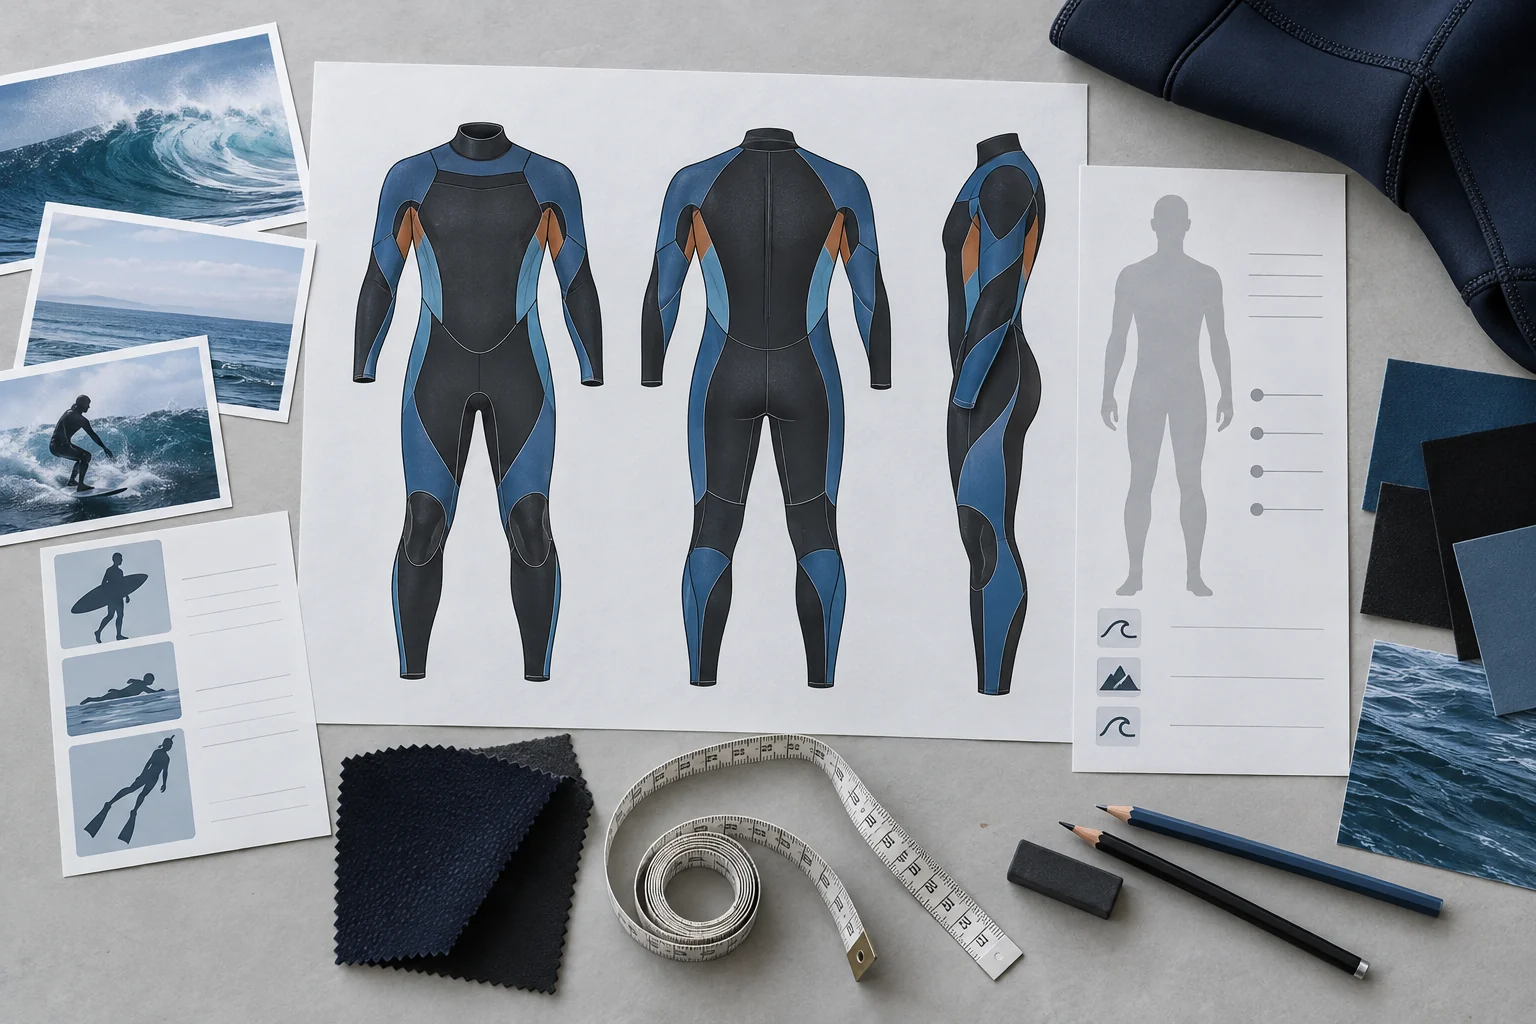
Create clean front, back and side views in a neutral pose. Add separate views for the inside, hood, collar, closure, pocket, cuff, ankle, zipper termination, reinforcement and any construction hidden in the main drawing. Use consistent proportions across views. Decorative renderings can sit beside the technical flats, but they should not replace them.
Give every panel a unique identifier. The panel map should show which lines are seams, which are artwork boundaries and which are reference lines only. Mark left and right parts when they are not mirrored. Identify grain or stretch direction where it matters, and show how a printed or embossed graphic crosses a panel or seam.
Review every panel line for function. Ask:
- Does it support mobility, shaping, material zoning, reinforcement or assembly?
- Will it sit on a high-movement or pressure area?
- Does it create a very small, sharp or difficult-to-handle piece?
- Will artwork alignment require an additional tolerance?
- Can the same result be achieved with fewer operations?
A factory pattern maker may need to adjust the sketch to create workable shapes and seam allowance. Require those changes to come back as a revised drawing or pattern review. The approved visual design and the production pattern should never become two disconnected versions.
Step 5: specify foam, lining and thickness by panel
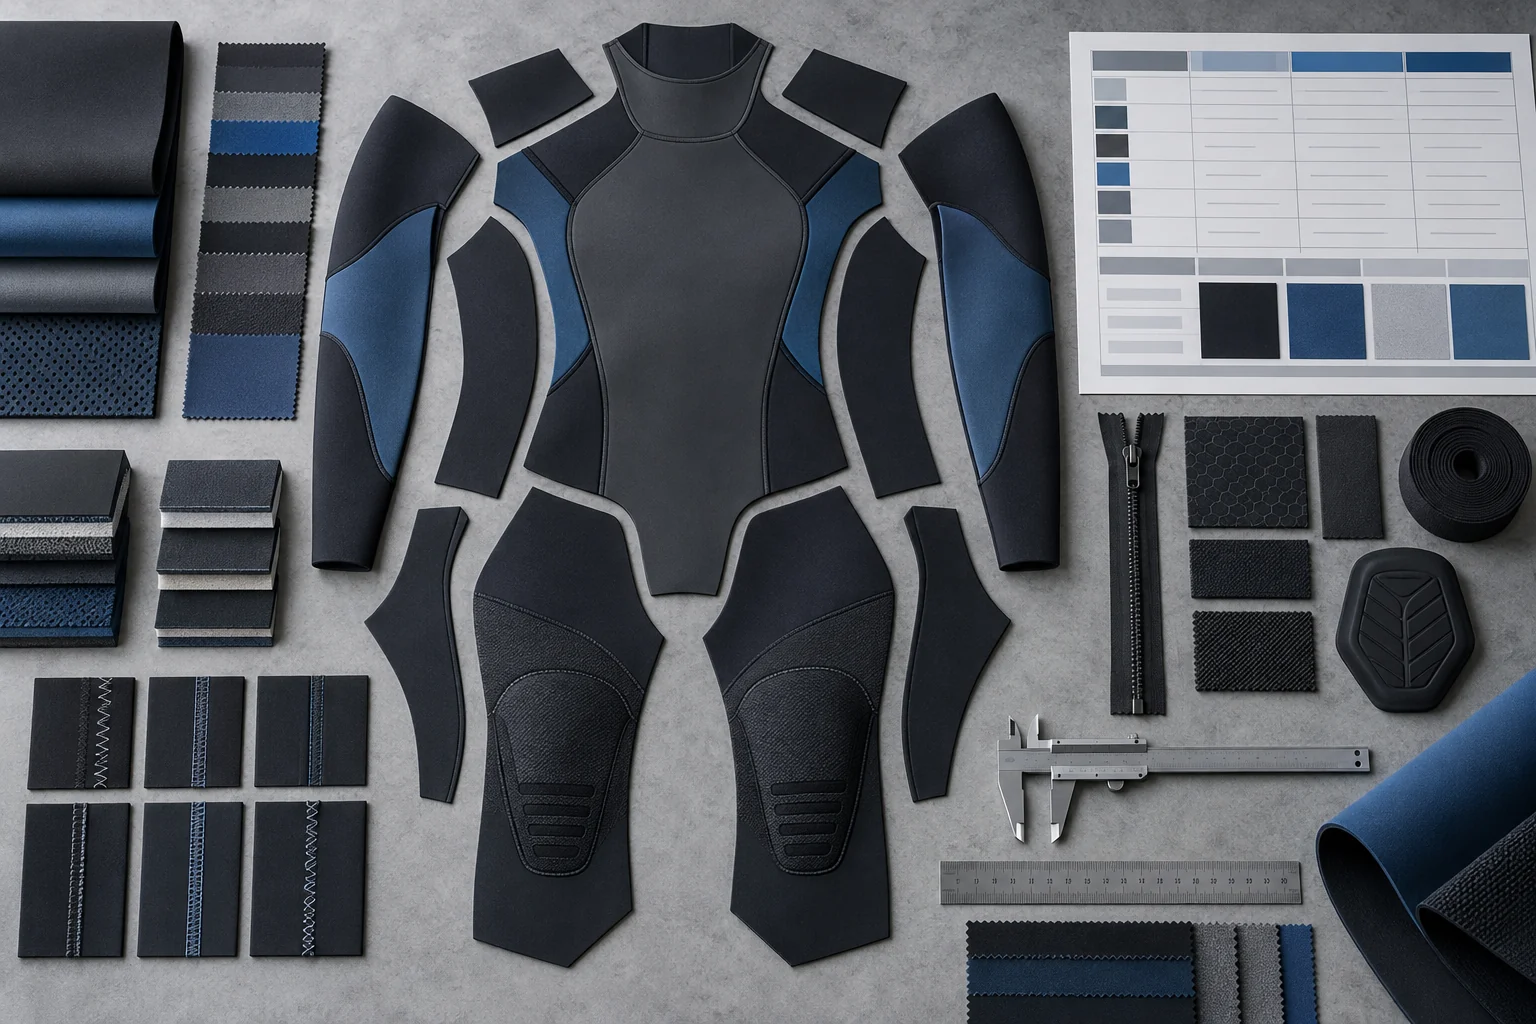
Do not write only “3 mm neoprene.” A useful material specification identifies the foam type or approved supplier code, nominal thickness and tolerance, outer and inner lining, color, stretch direction, surface treatment, lamination or adhesive requirements, and the exact panels that use the material. If more than one approved source is allowed, record each alternative and the approval method for substitution.
Use the wetsuit material selection guide to compare foam, lining and thickness decisions. Then convert the selected option into a panel-level bill of materials. Material names used in marketing are not enough for factory control because similar names can hide different foam, textile, lamination and finish combinations.
Thickness zoning should follow the intended use and movement priorities. Record the transition between zones, not just the values. Confirm how nominal thickness will be measured, because laminated composite thickness and compressed thickness may be interpreted differently. The sample record should state the actual material codes used, so a later sample or production lot can be compared with the approved version.
Step 6: design seams, entry, seals and reinforcement as one system
Select seam construction according to water conditions, stretch, comfort, durability, cost and factory capability. Flatlock, glued-and-blind-stitched construction and taped or reinforced options behave differently. The GBS vs flatlock vs taped seam guide explains the commercial and technical trade-offs. In the tech pack, state the seam type for each seam group, thread and stitch expectations where controlled, tape or liquid-seal details, overlap direction and start/stop treatment.
Choose the entry system with the wearer and use case in mind. Back zip, chest zip and zipless designs affect pattern geometry, donning, mobility, sealing and assembly. Use the chest zip, back zip and zipless specification guide to define the decision. Then specify zipper supplier or performance requirement, length, gauge, slider, pull, backing, flap, opening direction and end reinforcement.
Map seals and edges. Define collar height and construction, wrist and ankle finish, smooth-skin or other seal zones, raw or bound edges, cuffs, drainage details and any anti-flush feature. Explain whether a part is intended to seal, protect, guide dressing or provide appearance. Without that purpose, a factory cannot sensibly propose alternatives.
Place reinforcement only where supported by use evidence. Knee, seat, elbow, lower leg and entry areas may need different solutions. Show the exact boundary, material, thickness, edge treatment and attachment method. Check that reinforcement does not end at a high-flex location or create an abrupt discomfort point.
Step 7: build the measurement specification, size chart and grading logic
Body measurements and finished-garment measurements are different data sets. Body data defines the target population. Garment measurements define the product made from the pattern. Stretch, negative ease, thickness, construction and intended compression affect the relationship between them. Label each table clearly and never mix the two.
ISO 8559-1:2017 describes anthropometric measurements used to create body-data sets and size and shape profiles for clothing development. Use consistent landmarks and measurement methods, but apply them with qualified pattern and fit expertise for wetsuit construction. A generic apparel size chart does not automatically produce an effective wetsuit fit.
For the garment specification, include a diagram and unique point-of-measure code for each dimension. State whether the product is measured flat, around the body, along a seam or between landmarks. Define sample size, target, tolerance and measurement conditions. Add critical dimensions for torso length, chest, waist, hip, shoulder and sleeve position, neck and openings, inseam, knee placement and closure geometry as appropriate to the style.
Grading should be deliberate rather than a uniform increase in every direction. Target body proportions can change across the size range, and panel intersections, reinforcement placement and zipper lengths must remain functional. Plan a size-set review across representative sizes. Do not approve the entire range from one base-size sample unless the project has reliable validated grading evidence.
Step 8: control color, branding, print and label artwork
Separate material color from printed color. Specify the substrate, color reference system, approved physical standard, finish, placement and viewing conditions. A screen color is not a reliable production standard. For matching across neoprene lining, printed panels, transfers, zipper tape and thread, agree what level of visual difference is acceptable and which component is the master reference.
For every logo or graphic, provide vector artwork where appropriate, dimensions, orientation, distance from named landmarks, color values, print or transfer method, and a tolerance for location. Show how artwork changes by size. If a graphic crosses a seam or stretch zone, approve both appearance and durability on the actual construction.
Maintain an artwork register. Each file needs a stable ID, revision, date, style, colorway, size applicability and approval status. Remove obsolete files from the production folder rather than naming several versions “final.” Check trademark authorization and ownership before release.
Design the physical labels and online product information alongside the product. For the United States, the FTC states that most textile and wool products require information such as fiber content, country of origin, responsible business identity and care instructions. For EU sales within the scope of the General Product Safety Regulation, product identification, responsible economic-operator information, warnings and online-offer information may also need control. Obtain market-specific advice for the exact product and claims.
Step 9: assemble the tech pack, bill of materials and RFQ
Bring the controlled information into one current tech pack. A useful file normally contains:
- document cover with style, owner, revision and date;
- product brief and intended-use statement;
- front, back, side, inside and detail views;
- numbered panel map and colorway pages;
- bill of materials with approved codes and alternatives;
- seam, entry, edge, reinforcement and component details;
- measurement specification, tolerances and size chart;
- artwork, label and packaging files;
- sample stages, test requests and acceptance criteria;
- revision history and final approval page.
Use the detailed wetsuit tech pack and RFQ checklist before sending the package. The RFQ adds the commercial context the drawings cannot provide: quantities by style and color, size range, destination, packaging, testing responsibility, requested sample stages, target dates, Incoterm, payment assumptions and any buyer-supplied components.
Ask each supplier to list assumptions and exceptions. If a quote is based on a different foam, seam, zipper, print process or size breakdown, it is not a like-for-like quote. Keep open questions inside one decision log linked to the current revision.
Step 10: convert the design into a pattern and first prototype
The pattern maker translates two-dimensional intent into shaped panels that must assemble around a three-dimensional moving body. Provide the intended fit and function, not just finished measurements. Pattern development needs to account for material stretch, thickness, seam construction, negative ease, entry geometry, curvature, reinforcement and production tolerances.
Agree what the first sample is meant to prove. A prototype built from substitute material may be useful for basic geometry but cannot approve final stretch, sealing, color or surface behavior. A fit sample can test measurements and movement. A pre-production sample should use the approved materials, components, artwork and construction intended for bulk. Names differ across suppliers, so define the purpose and acceptance criteria rather than relying on the label.
Review how the design will move through cutting, printing, lamination, assembly, seam finishing and inspection. The guide to how wetsuits are manufactured helps designers see why panel shape, print registration, seam access, component sequence and inspection criteria must be resolved before bulk production.
Step 11: run fit tests and issue one controlled revision
Measure the sample against the current specification before judging it on a wearer. Record the measurement method, result and variance. Then use representative wearers to evaluate dressing, posture, range of motion, local pressure, gaping, bunching, seam placement, neck and cuff contact, closure operation and performance during movements relevant to the activity.
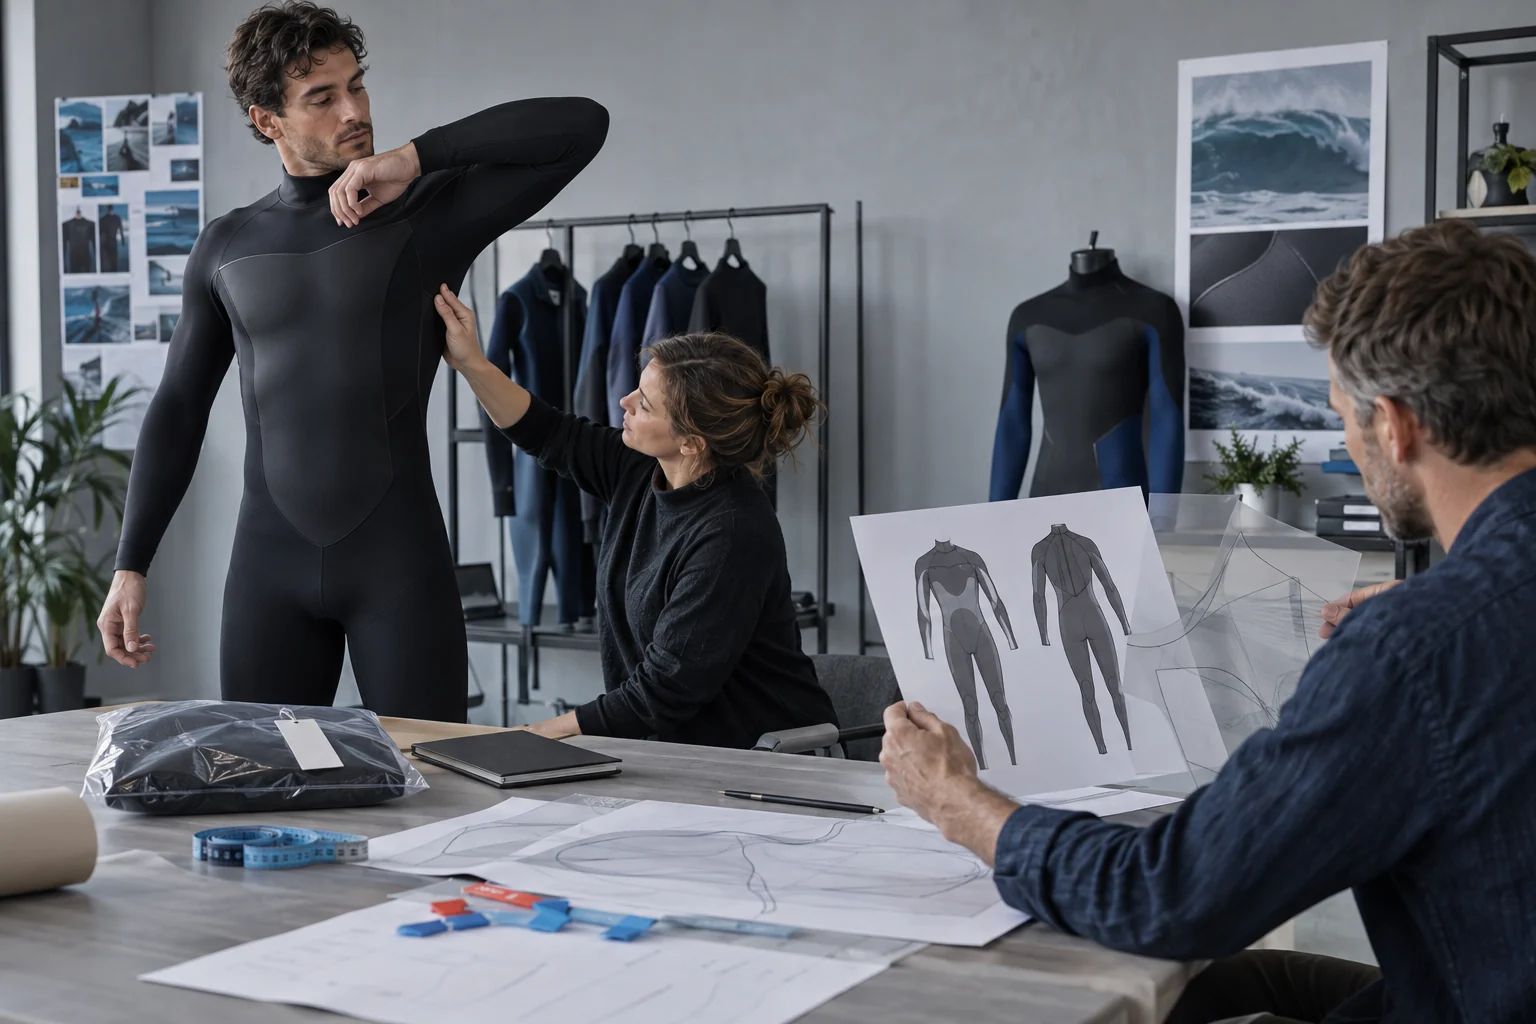
Follow a repeatable wetsuit fit-testing protocol. Use the same movements, measurement points, photo angles and rating definitions across sample rounds. A comment such as “too tight” should identify the wearer, location, movement, observed effect and proposed action. Distinguish a pattern issue from a material-stretch issue and a dressing issue.
Send one consolidated comment sheet. Number every issue, mark it on the relevant view or photo, state the required change and name the approver. Use statuses such as Open, Revise, Accepted and Verify Next Sample. Conflicting feedback from design, sales and management should be resolved internally before it reaches the factory.
After the supplier responds, update both the tech pack and revision log. Do not leave the approved change only in email or chat. If a modification affects another panel, size, artwork, component, price, timing or claim, record the consequence before approving the next sample.
Step 12: freeze the design and hand a controlled package to production
Design freeze means the current specification has been reviewed and any remaining exceptions are explicit. It does not mean the product can never change. It means production has one authorized basis and later changes require written impact review.
Before release, confirm:
- the intended user, use, market and claims are current;
- all views and panel identifiers match the pattern and sample;
- the BOM identifies approved materials and components;
- measurements, tolerances, size range and grading review are closed;
- seams, closure, seals, reinforcements and edge finishes are approved;
- colors, artwork, labels and packaging use the released files;
- required compliance evidence and market information have owners;
- the final sample is identified and retained as a reference;
- quality-control criteria and inspection timing are agreed;
- the authorized buyer and supplier representatives approve the same revision.
Attach the released tech pack and revision identifier to the purchase order or manufacturing agreement. Define what happens if a specified component becomes unavailable. A substitution should state the proposed alternative, reason, evidence, cost and timing effect, then receive written approval before use.
Common mistakes when learning how to design a custom wetsuit
- Drawing styling before defining the user: panel lines then lack a functional reason.
- Using one front view: closures, inside construction and hidden details remain ambiguous.
- Calling every line a seam: artwork boundaries and construction lines become confused.
- Specifying only thickness: foam, lining, lamination, stretch and panel assignment remain open.
- Mixing body and garment measurements: the pattern maker cannot understand the intended relationship.
- Approving color on screen: substrate and process differences are ignored.
- Testing only the base size: grading problems appear after inventory is made.
- Sending comments from several people: the supplier receives contradictory instructions.
- Using “final” as a filename: there is no reliable version history.
- Freezing appearance but not construction: the approved sample and bulk specification can diverge.
Frequently asked questions
Do I need professional drawings before contacting a wetsuit manufacturer?
No. A clear hand sketch and product brief can start a feasibility discussion. The project still needs controlled technical views, materials, measurements, construction and approval criteria before accurate sampling and production. Ask who will create those deliverables and who owns them.
Can a factory design the wetsuit from my idea?
Some suppliers offer ODM or development support, but capabilities and responsibilities vary. Define the design work, pattern work, number of sample rounds, fees, ownership, confidentiality, included files and approval process in writing.
What is the difference between a wetsuit design file and a tech pack?
A design file communicates appearance and product direction. A tech pack adds the measurable construction instructions needed for quotation, sampling, revision and repeatable production. It should control panels, materials, seams, components, measurements, artwork, labels, tests and version history.
How many sample rounds are required?
There is no universal number. It depends on whether the pattern is existing or new, material availability, design complexity, grading, fit results and how completely the team closes each round. Plan stages and budgets around questions that must be answered, not a guaranteed count.
When should the design be considered production-ready?
Only when the authorized team has approved the current tech pack, BOM, measurements, size and grading evidence, materials, construction, artwork, labels, final reference sample, quality plan and market-specific information. Critical open issues should block production release.
Who owns the pattern and tech pack?
Ownership depends on the agreement and applicable law. A development fee does not automatically answer whether the buyer receives exclusive rights, editable files or permission to move the design. Define background assets, new assets, licensing, exclusivity, transfer, confidentiality and post-project access with qualified advice.
Send a sketch that can start a useful design review
Prepare a short brief with the intended activity, wearer, conditions, target market, reference size, preferred entry, material or performance priorities, quantity range, timing and any sketches or reference samples. Mark what is fixed, what is open and what must not be copied.
Start the development conversation: send your custom wetsuit sketch and product brief to INSEAKU for a feasibility review. A clear first package helps the technical team identify missing decisions, the appropriate development route and the next sample milestone.
Official references
- ISO 8559-1:2017 — Anthropometric definitions for body measurement
- WIPO — Industrial designs
- WIPO — How to protect designs
- U.S. Federal Trade Commission — Apparel labeling
- European Union — General Product Safety Regulation
This article provides general product-development and procurement information. It is not legal, intellectual-property, product-safety or compliance advice. Requirements should be verified for the exact product, claim, company, market and sales channel.