
Short answer: Learning how to put on an open cell wetsuit starts with identifying its inner surface and following the instructions for that model. Prepare the specified donning aid, remove snagging items and ease the garment into position without digging your nails into the rubber. For a typical two-piece system, the trousers go on before the jacket. After use, remove it gently, rinse, dry both surfaces and store it without compression. If it will not move comfortably, stop rather than pull harder.
This guide explains how to put on an open cell wetsuit and helps brands, dive shops and their customers organize a practical care routine. It focuses on unlined interiors used in freediving and spearfishing suits, not drysuits or every coated swimming wetsuit. The product manual takes priority. A care article is not dive training: SCUBAPRO’s official wetsuit safety notice recommends familiarization with a certified instructor and warns against treating a wetsuit as a safety or buoyancy device.
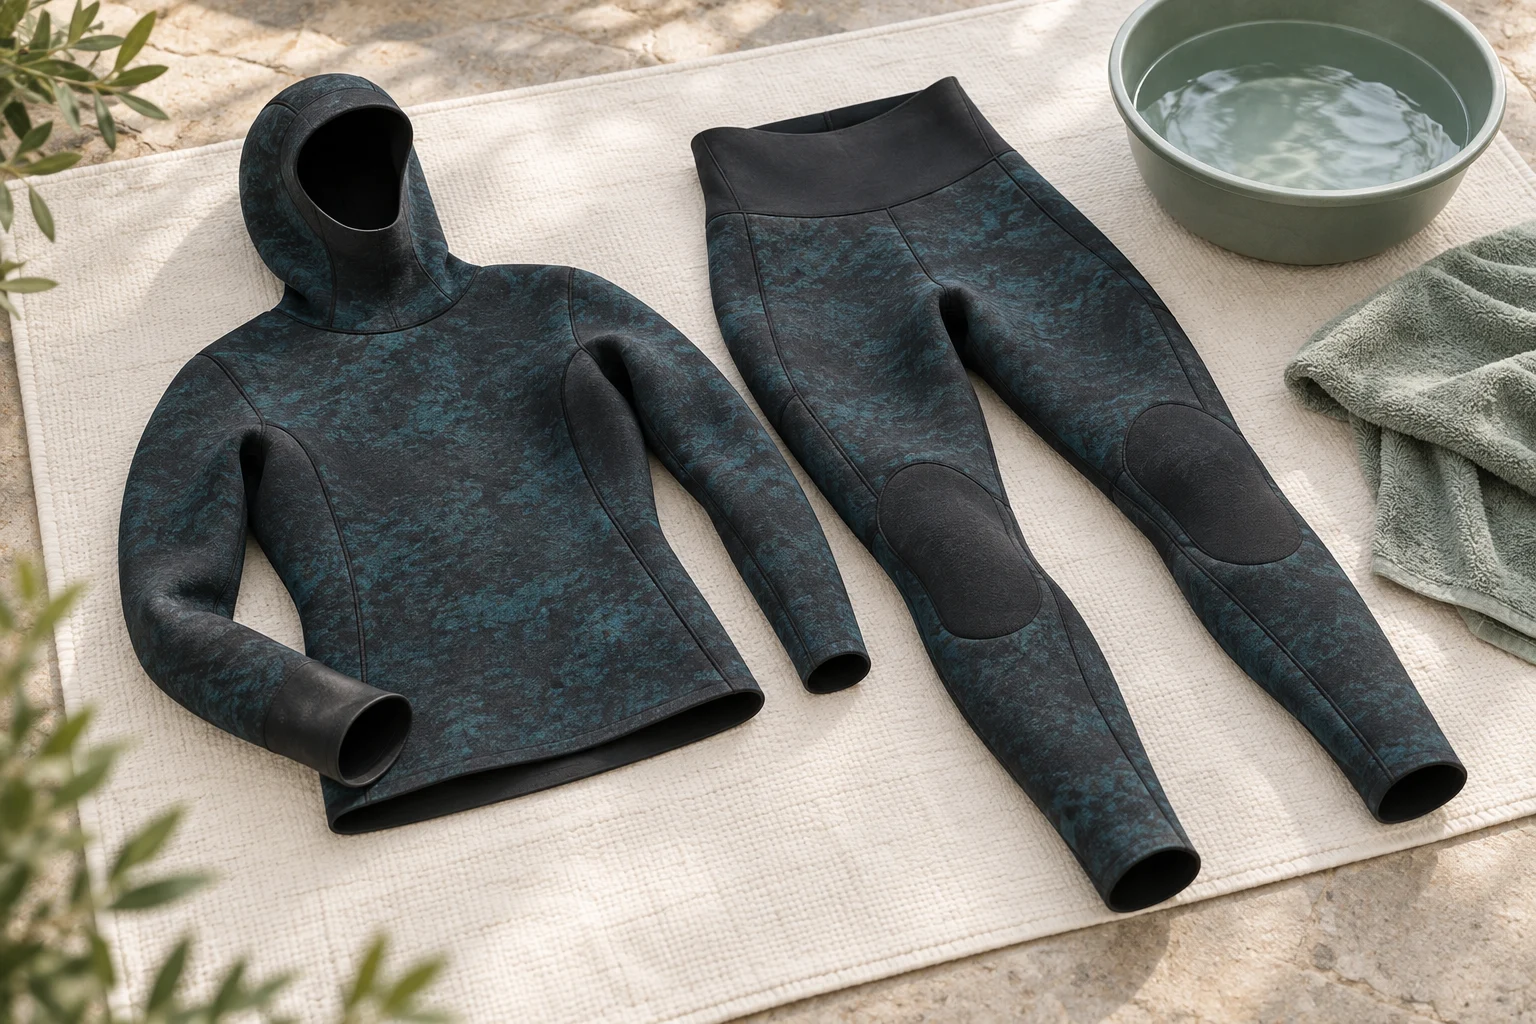
Download the printable open-cell wetsuit care card. This one-page review template includes space for the model, approved products, instruction reference and support contact. Complete and approve those fields before supplying it with a specific garment.
1. Check what “open cell” means for this suit
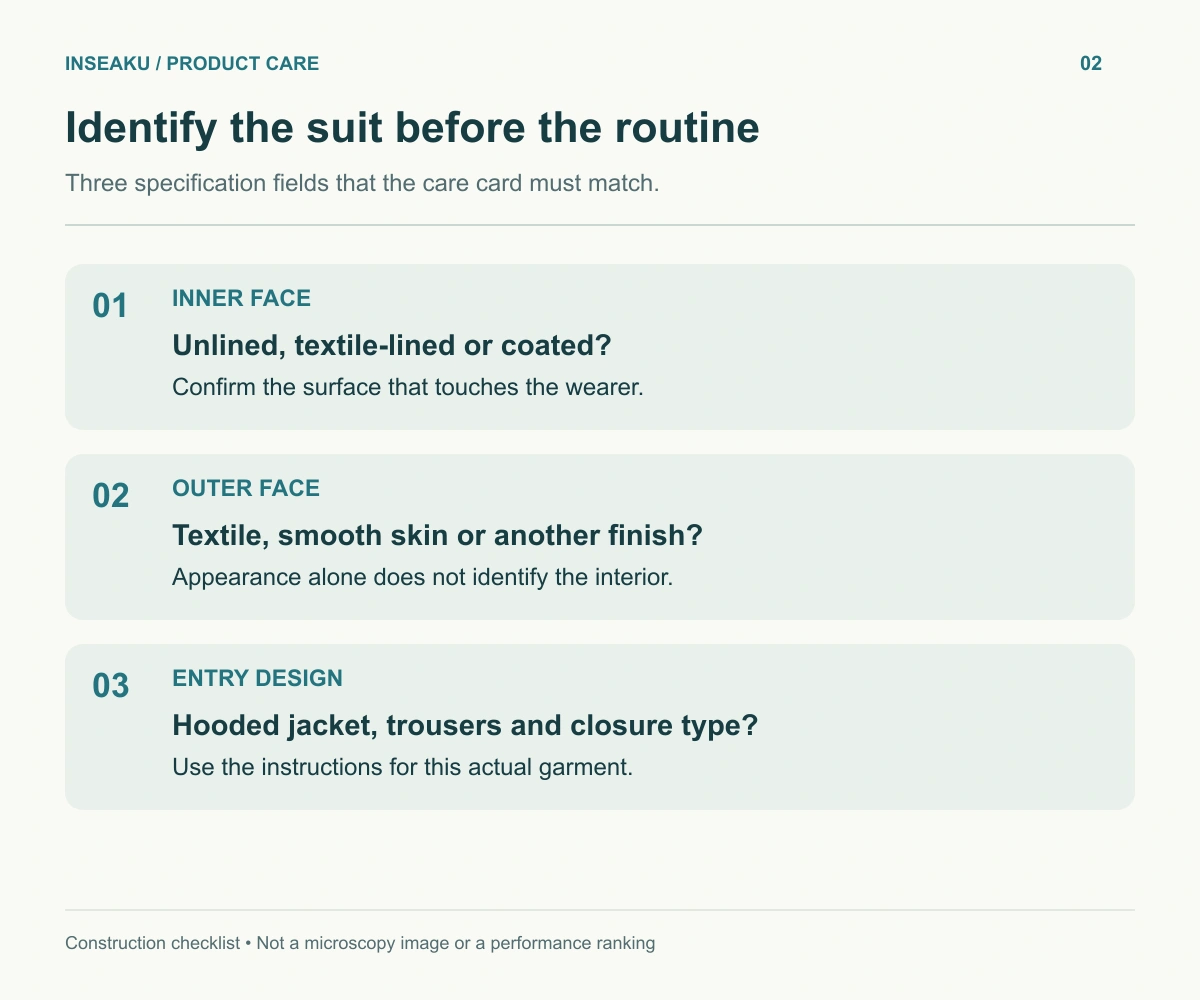
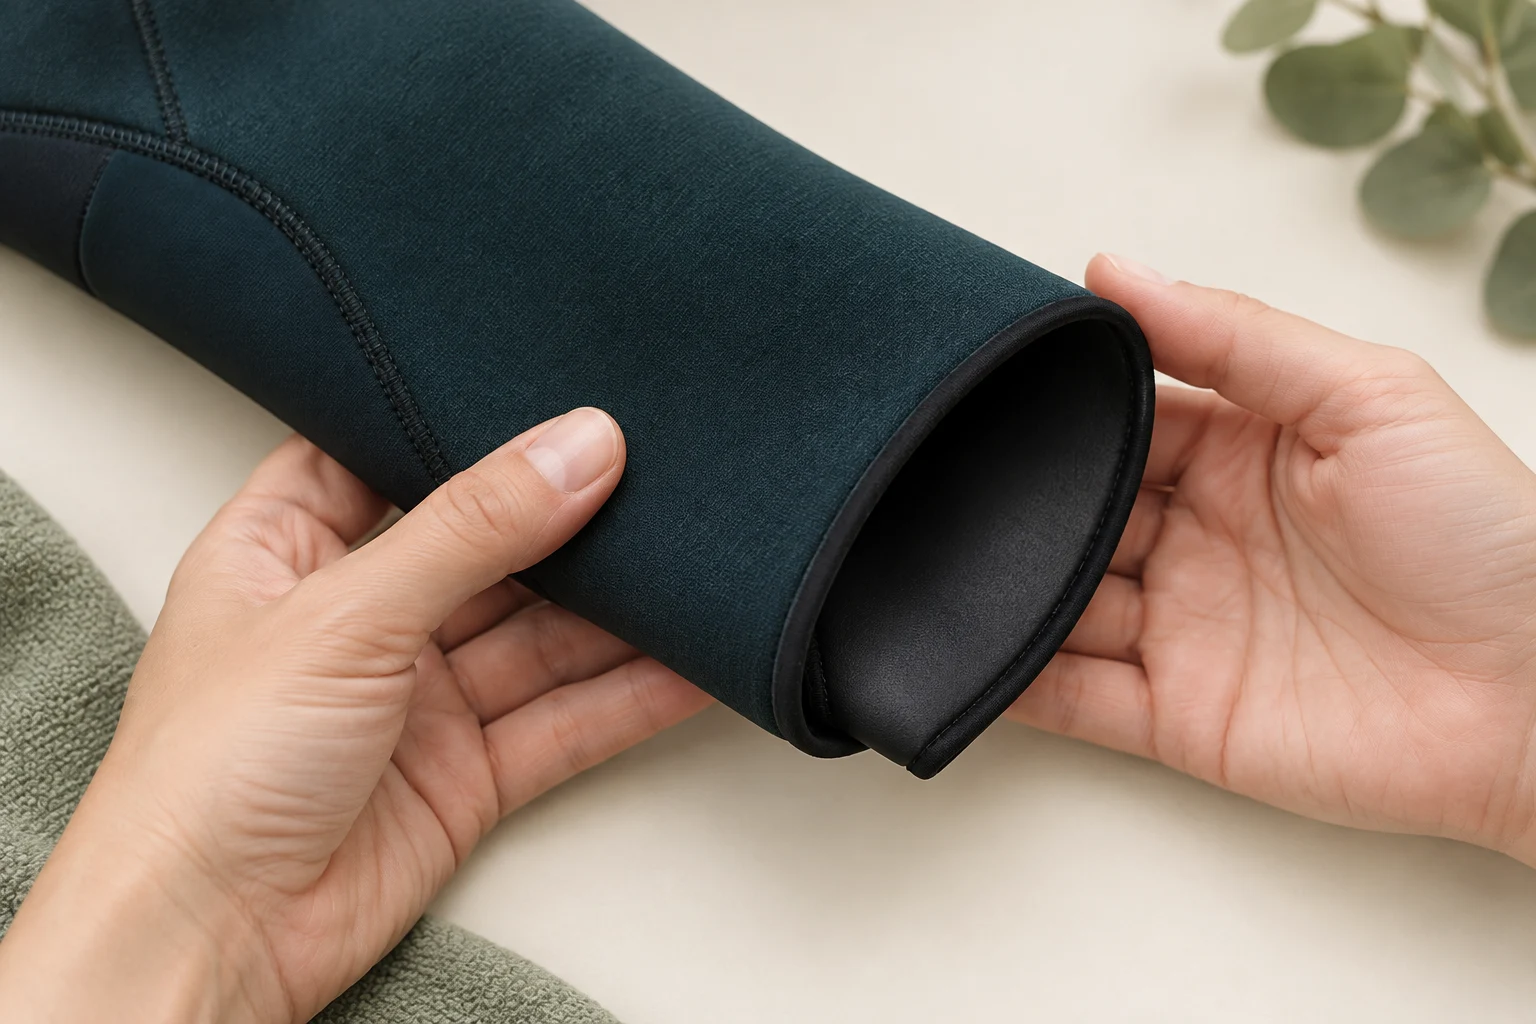
In wetsuit purchasing language, “open cell” usually describes an unlined cut-foam inner face. A textile-lined interior, a coated interior and an unlined surface need not use the same dressing routine. A smooth-looking exterior does not tell you which surface touches the wearer. Check the approved construction rather than judging from the color or product name.
Our open-cell versus lined wetsuit guide separates the inner face, outer face and foam specification. For a private-label range, carry those distinctions into the customer instructions. A single generic card should not silently cover products with different coatings, closures or care restrictions.
At handover, show the customer the actual interior, identify the front and back, and explain which fasteners open. Record whether the trousers are high-waisted or a long-john design. Demonstrate the supplied garment, not a superficially similar suit from another collection. If the supplier changes the surface treatment, review the instructions again.
2. Prepare the changing area and the approved donning aid
Use a stable changing position and a clean surface. Remove rings, watches and anything that could snag the garment; check fingernails and toenails for sharp edges. Keep grit away from the interior. Lay out both pieces so you can identify their orientation before starting, with the closures released as the manual requires.
Beuchat’s spearfishing-equipment guidance calls for lubricating an open-cell interior and avoiding fingertip or nail grip. Use the aid and preparation method approved for your own suit. An internet recipe for shampoo, conditioner, oil or powder is not confirmation of compatibility with its rubber, coating and adhesive system.
For a brand or dive shop, “use lubricant” is an incomplete instruction. Ask the supplier to identify the approved product or product specification, preparation directions and any restrictions. Keep the original product label available. Do not invent a universal dilution, assume that “natural” means suitable, or describe a mixture as reef-safe without supporting evidence.
Apply the specified preparation before attempting entry. Where the instructions require a wetted or lubricated inner face, check that the relevant areas have been treated rather than leaving dry patches. Manage spills so the changing surface does not become slippery. Preparation should make the routine controlled, not rushed.
3. How to put on an open cell wetsuit without forcing it
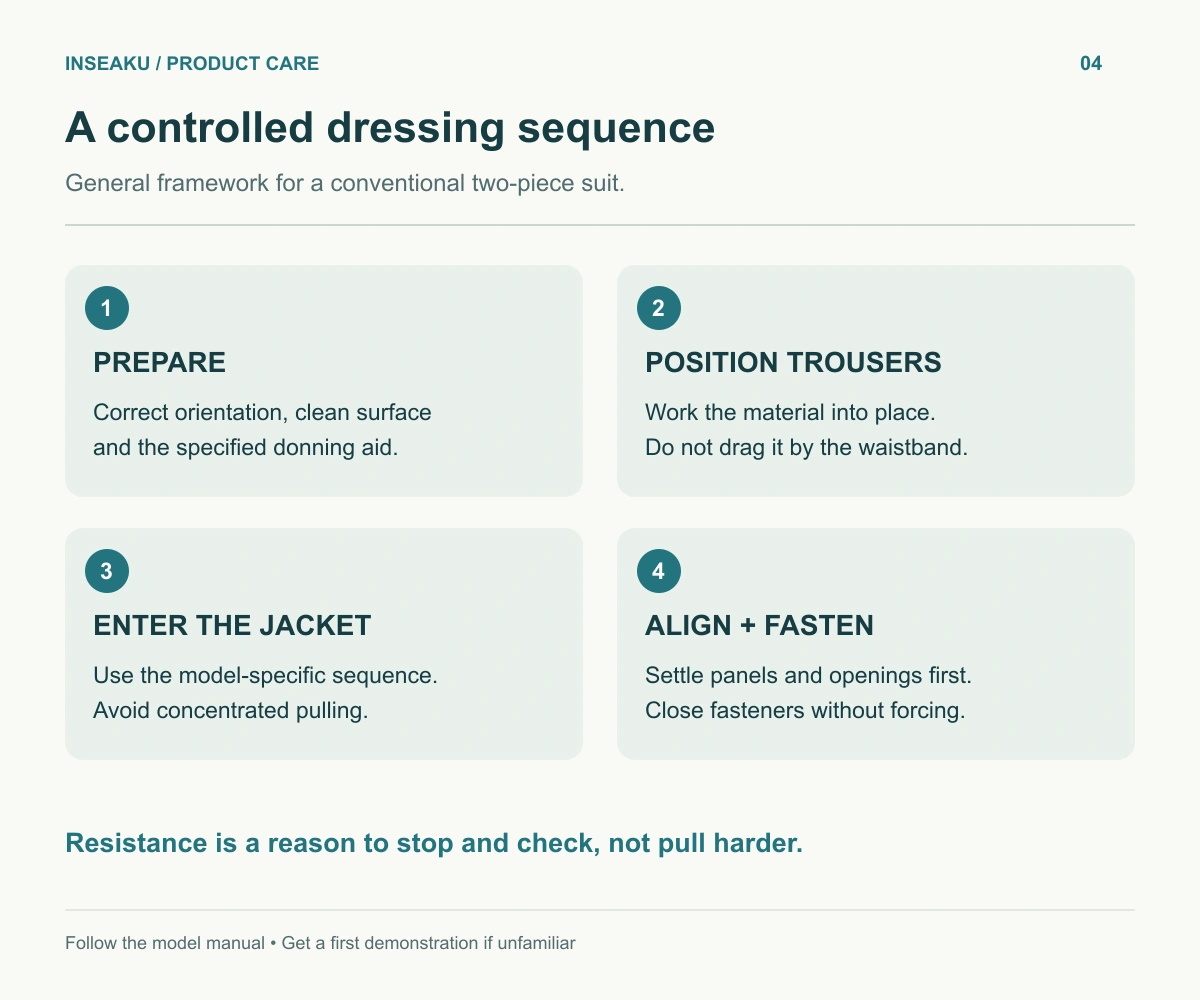
For a conventional two-piece hooded suit, the general sequence is trousers first, then the jacket, with arms before the head where the manufacturer specifies that method. Different entry constructions can require a different sequence. Arrange an in-person demonstration if you are unfamiliar with the product.
- Orient the trousers. Ease each foot through its correct leg opening. Work the material up gradually rather than using the waistband to drag the whole garment into place.
- Settle the lower body. Position the knees and seat before bringing the waist to its intended height. Check for twists or trapped folds.
- Prepare and enter the jacket. Follow its specified arm-and-head sequence. Keep your hands relaxed and avoid point-loading a small patch of rubber.
- Align before fastening. Settle the torso and hood, then close the beavertail or other fastener without using it to stretch the suit down into position.
Stop at the point of resistance. Recheck orientation, material distribution, preparation and size with the seller or instructor. A strap, hood edge or cuff is not a pulling handle. Adding more force does not tell you whether the problem is technique, size or pattern.
4. Check fit before treating the suit as ready
Once dressed, check that the intended panels and openings sit in the correct places. A misplaced knee or a twisted sleeve should prompt adjustment, not an assumption that the garment will correct itself in the water. Do not accept painful restriction or difficulty breathing as a normal requirement of a close fit; stop and obtain help removing or refitting the suit.
Underlayer advice depends on the wetsuit interior as well as the activity. Read our wetsuit underlayer guide and follow the specific instructions for an exposed-neoprene interior.
For brands, distinguish three different outcomes in a sample review: the wearer did not understand the entry sequence, the garment was not distributed correctly, or the selected size or pattern needs attention. Record the observation before choosing the corrective action. Avoid solving every complaint by changing the size label.
The wetsuit fit testing protocol provides a separate framework for agreed garment measurements and movement observations. An easy donning demonstration is useful evidence, but it does not by itself prove thermal performance, seam integrity or suitability for a particular dive. Keep those approval questions separate.
5. Remove the suit with the same care
Release the fasteners before removing the garment. Use a stable position and follow the supplier’s demonstrated removal sequence. Ease material back rather than yanking a sleeve, face opening or beavertail. If part of the suit is stuck, pause and ask for assistance; the helper should not solve resistance by pulling harder on the same small area.
Turning parts inside out during removal can be normal, but it is not a reason to leave them twisted in a bag. Lay the pieces where they can be inspected and rinsed. Check any area that was difficult to move, and keep the suit away from abrasive ground while changing.
When recording a customer issue, note the exact stage: putting the foot through, positioning the hips, entering the hood, removing the arms or releasing the ankle. Those descriptions are more actionable than “hard to wear.” A photo of the affected area and the model identification can help the supplier assess the next step without guessing.
Care instructions do not establish that a model is suitable for every environment. Before pool use, check the wetsuit and chlorine suitability guide for model instructions, session frequency and venue permission.
6. Separate rinsing, cleaning and shared-use hygiene
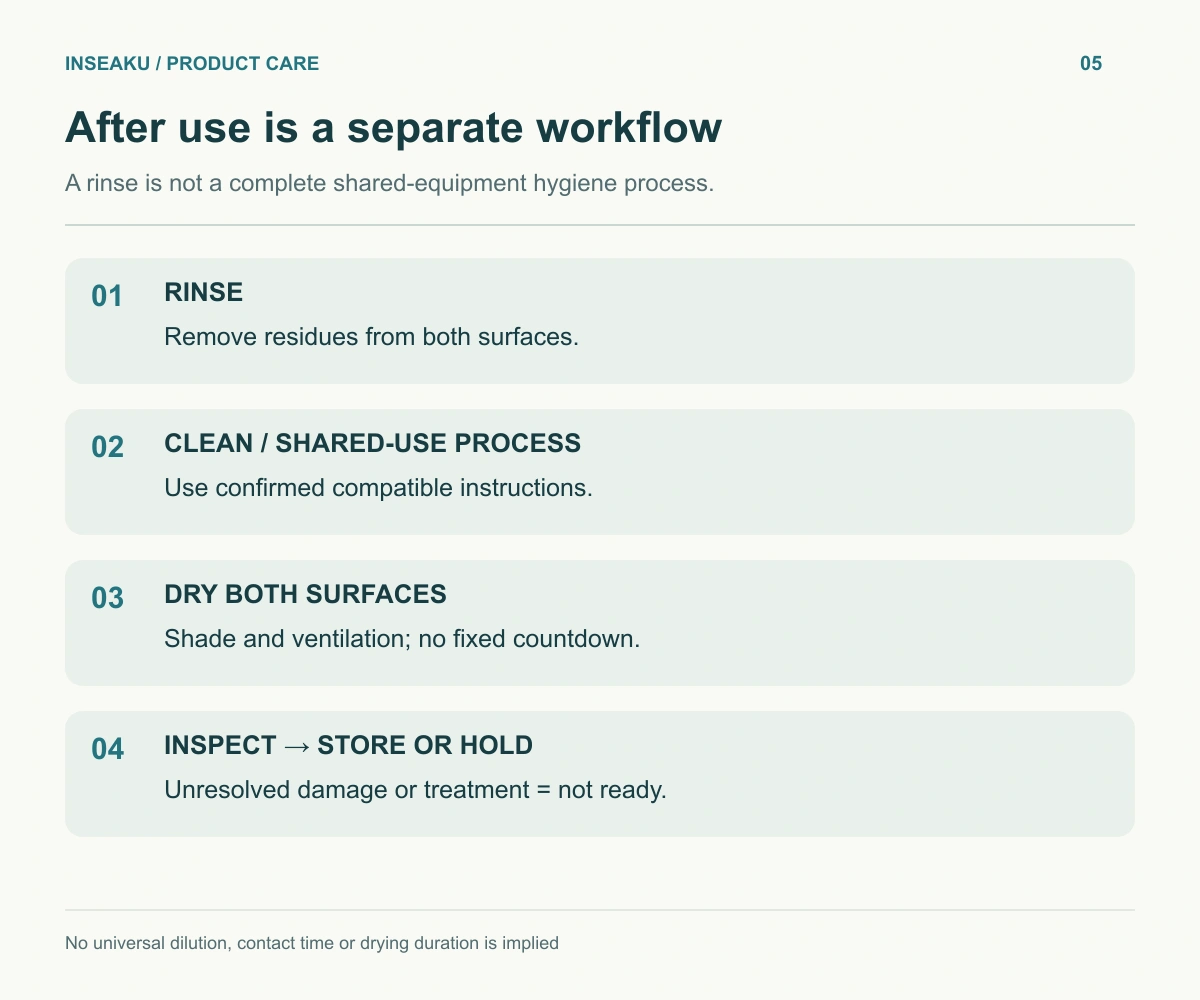
After use, rinse the inside and outside with fresh water. For cleaning, use a product compatible with the particular wetsuit and follow its directions. Beuchat’s neoprene-maintenance guide recommends cool-water care and advises against machine washing and spinning. Do not improvise a hot wash to speed up the process.
Routine rinsing and a shared-equipment disinfection procedure are different tasks. Beuchat’s disinfection guidance directs users to observe the disinfectant’s specified contact time, rinse afterward and prevent recontamination. It does not establish one dilution or treatment for every product and every wetsuit.
A dive center should confirm a compatible process with its equipment and cleaning-product suppliers, including preparation, contact time, rinsing, drying and handling after treatment. Do not mix cleaning chemicals or assume a strong smell proves successful disinfection. If the approved process is unclear, do not return the suit to shared use on the strength of a freshwater rinse alone.
Record the asset ID, treatment date, operator and unresolved condition issues. Separate items awaiting cleaning from items awaiting inspection or repair. The rental wetsuit fleet guide connects these operational decisions to garment identification and availability; it does not mean an unlined suit is automatically the best choice for a high-turnover beginner fleet.
7. Dry, inspect and store without creating new damage
Dry both surfaces in a ventilated, shaded place using the support method specified for the suit. Keep it away from direct sun and heat sources. Do not close it in storage while the interior remains damp, even if the outer fabric feels dry. Drying time depends on the garment and conditions; this guide does not prescribe a fixed number of hours.
Store the dry suit without tight folds or heavy objects pressing on it. A storage location is unsuitable if it requires crushing the garment into a corner or leaving it against a heater. Beuchat’s maintenance guidance supports drying both sides and storing away from heat, with the garment’s shape protected.
Before the next issue or use, inspect the inner face, seams, openings and fasteners. Photograph cuts, separation or changes that need review. Take a damaged item out of use pending assessment; do not advertise a generic glue or curing time as a repair suitable for every laminate. Obtain a model-appropriate repair decision and recheck the result before release.
8. Turn open cell wetsuit care into a controlled customer handover
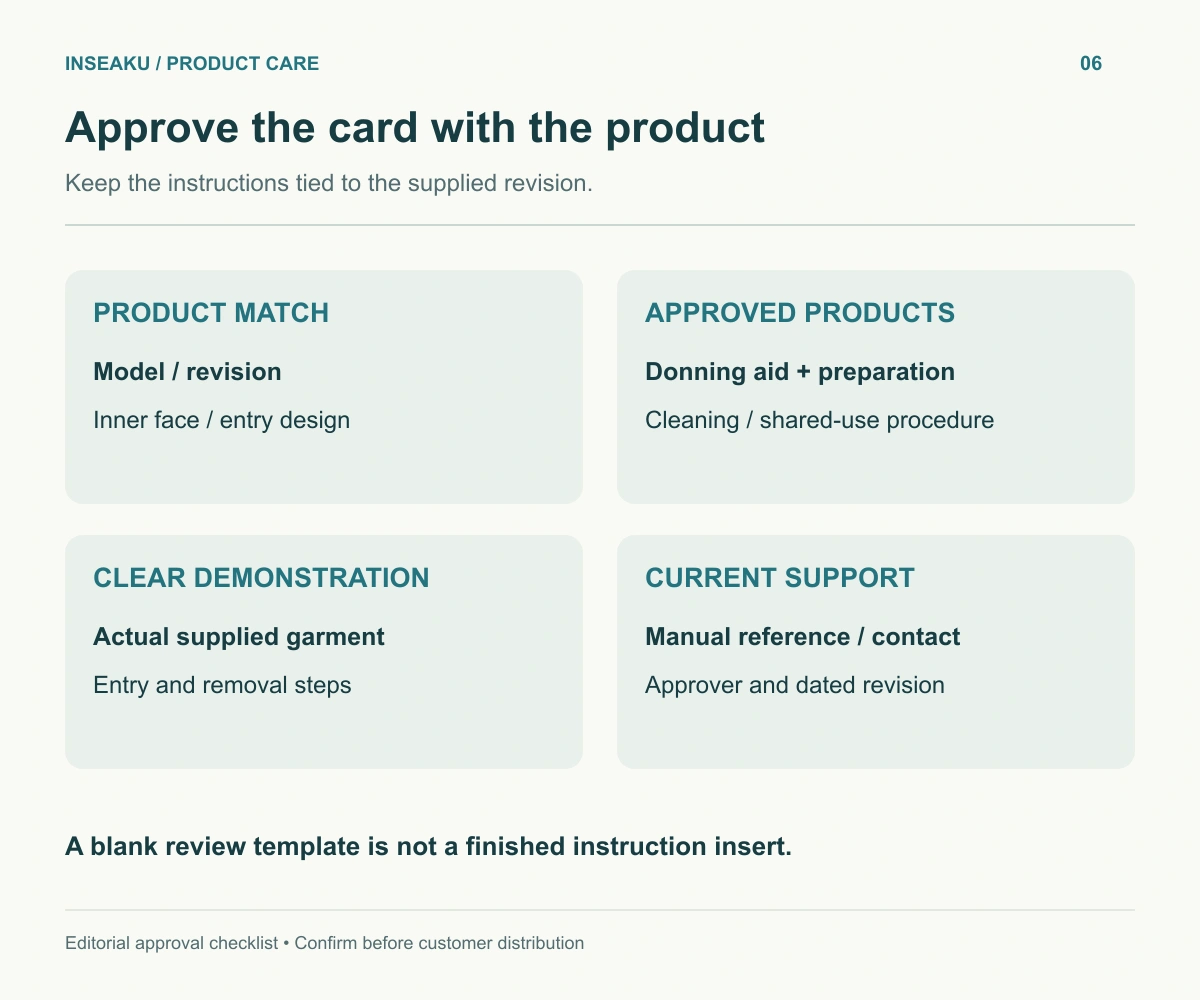
For private-label buyers, care information belongs in product development, not as an afterthought at packing. Add the card, label text and linked instructions to the tech pack and RFQ. Assign one person to approve the wording against the supplied material and garment revision.
| Field | Required decision | Why it matters |
|---|---|---|
| Model and construction | Style, revision, inner face and entry design | Keeps instructions attached to the correct product |
| Donning aid | Approved product and preparation reference | Avoids an unspecified household recipe |
| Cleaning and shared use | Compatible method; separate shared-use procedure where relevant | Does not confuse rinsing with disinfection |
| Demonstration | Model-specific entry and removal instructions | Shows the actions that a short card cannot fully explain |
| Support and revision | Contact, manual link, approver and date | Makes questions and later changes traceable |
The downloadable card is a review template, not a finished instruction insert for every INSEAKU product. Fill in the model-specific fields and check the language with the supplier before distribution. Keep the full manual accessible; a QR code should lead to the correct revision, not simply to the brand homepage. Retain essential instructions in a form customers can use when they have no phone signal.
A useful demonstration should show the actual supplied model, with the relevant body movements and contact points visible. Confirm permission from the person filmed and identify the garment revision. Avoid editing out the steps that beginners need to understand. The conceptual visuals in this article explain the workflow; they are not footage of an approved training session.
To discuss instructions alongside a private-label product brief, explore INSEAKU’s private-label wetsuit development services and send the intended construction, user group and care requirements. Confirm the agreed deliverables in writing rather than assuming that every order automatically includes a training video or a validated cleaning program.
Frequently Asked Questions
Can I put on an open cell wetsuit dry?
Do not assume that you can. Follow the approved preparation for the actual inner face. If the garment resists movement, stop and check the method and fit rather than forcing entry.
Can I use any shampoo or conditioner as wetsuit lubricant?
No general approval is implied. Ask for a compatible product and its preparation instructions. A recipe used with another suit does not establish suitability for yours.
Does rinsing make a shared wetsuit ready for the next customer?
Not by itself. Follow the shop’s confirmed shared-use hygiene process, then complete drying and condition checks. Keep unresolved items out of the ready-to-issue stock.
How long should an open cell wetsuit take to dry?
There is no reliable universal time. Check the inside as well as the outside and use the specified drying conditions. Do not use a fixed countdown as the only release criterion.
Can the same care card cover all of a brand’s wetsuits?
Only after confirming that its instructions apply to every included model. Different interiors, coatings, closures and approved products may require separate versions.
References and Further Reading
Official sources checked on 29 September 2026. These documents inform the handling principles; they do not approve a specific lubricant, hygiene process or INSEAKU product.
- Beuchat — How Should I Maintain My Spearfishing Equipment? Open-cell preparation, dressing order and careful handling.
- Beuchat — How to Maintain Your Neoprene Wetsuit? Rinsing, cleaning, drying and storage principles.
- Beuchat — How to Disinfect Your Wet/Dry-Suit and Neoprene Accessories. Product-specific treatment directions and handling afterward; not a universal chemical recipe.
- SCUBAPRO — Wetsuit Read First Manual. Training and product-use cautions; not an open-cell dressing manual.